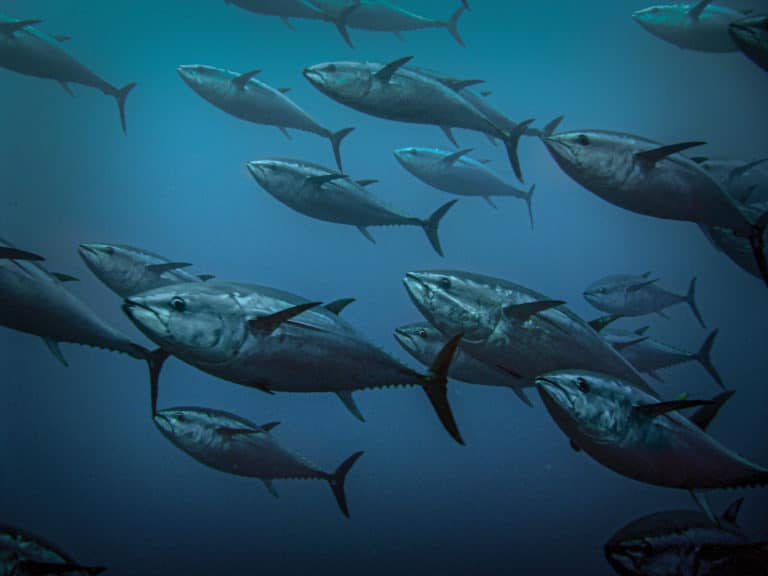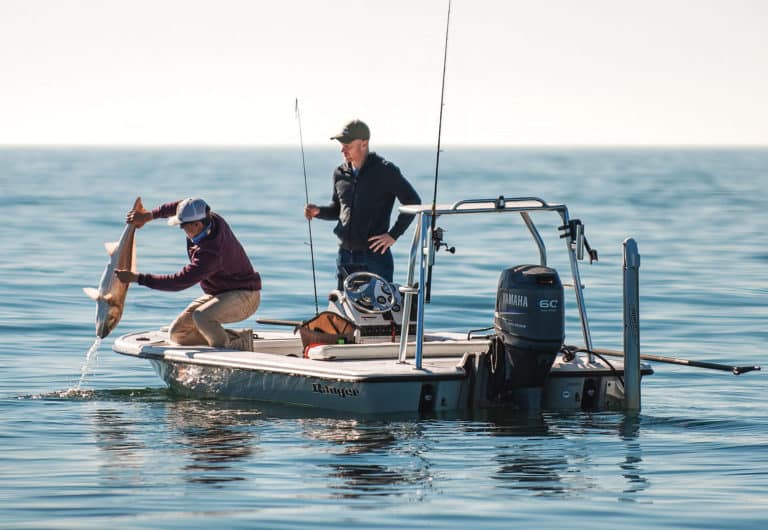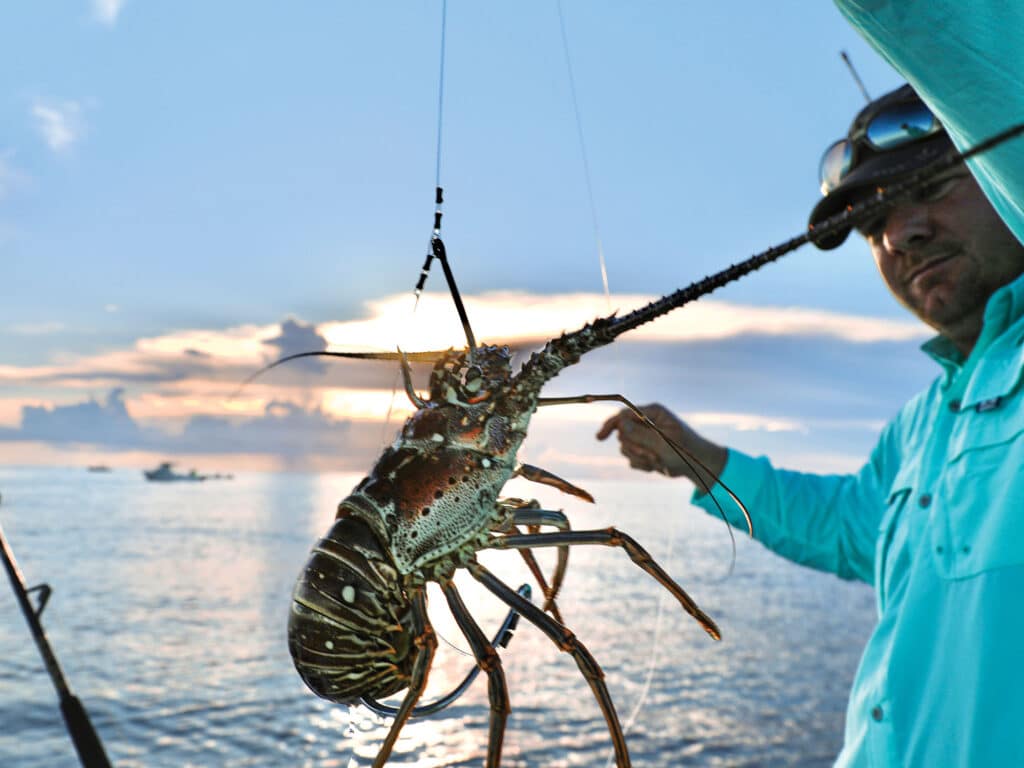
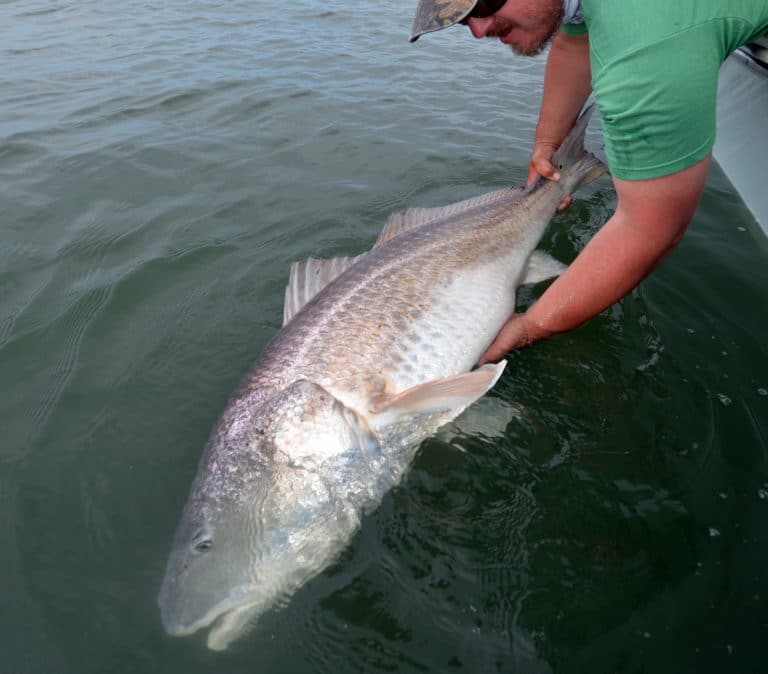
Big Live Baits Catch Big Fish
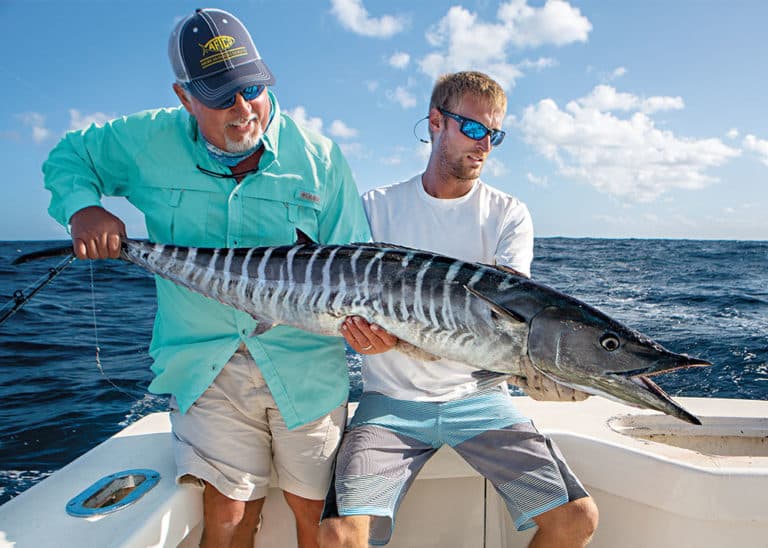
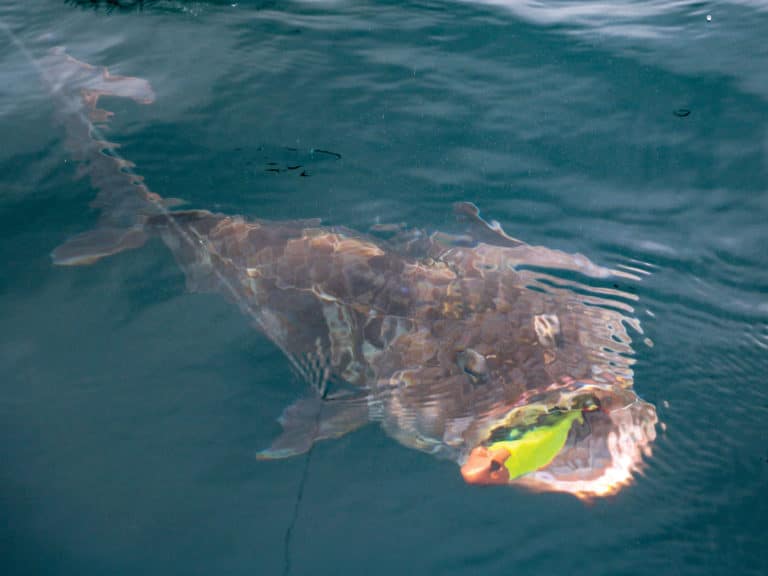
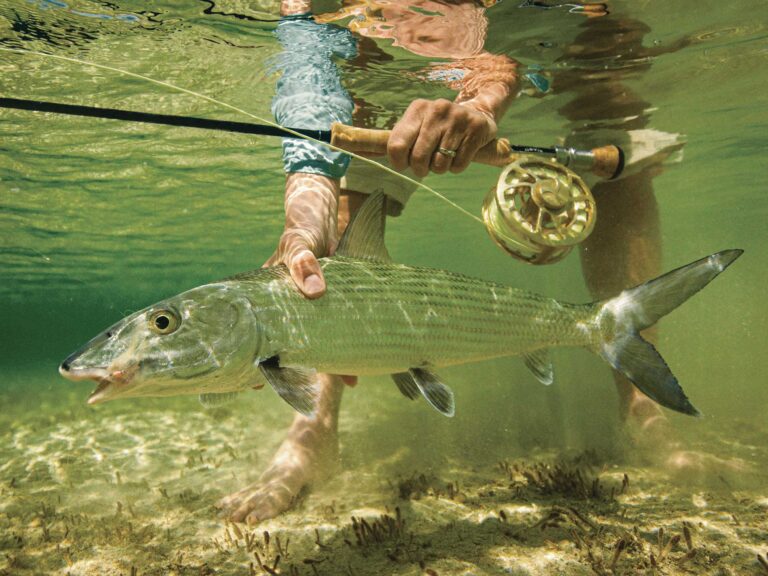
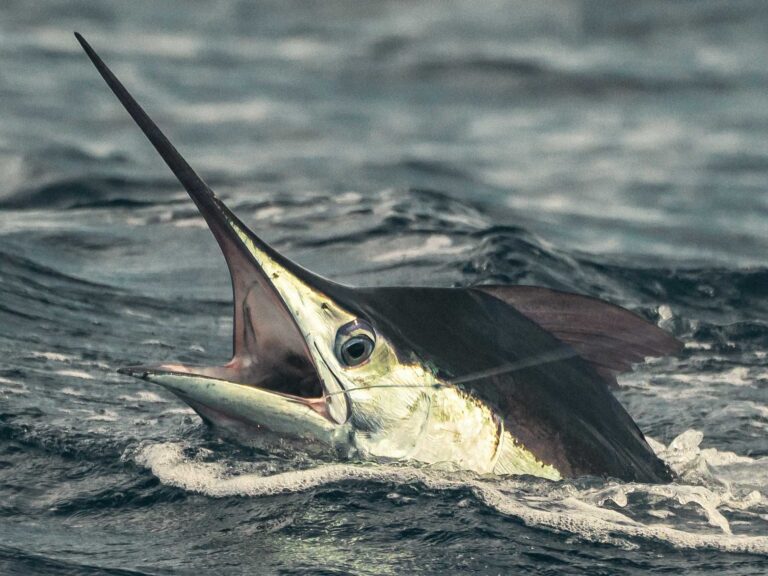
Oversized live baits such as Spanish mackerel, yellowtail or lobster weed out the smaller bites to target trophy fish.
Oversized live baits such as Spanish mackerel, yellowtail or lobster weed out the smaller bites to target trophy fish.
If you don’t know this stuff, you’re probably not fishing enough.
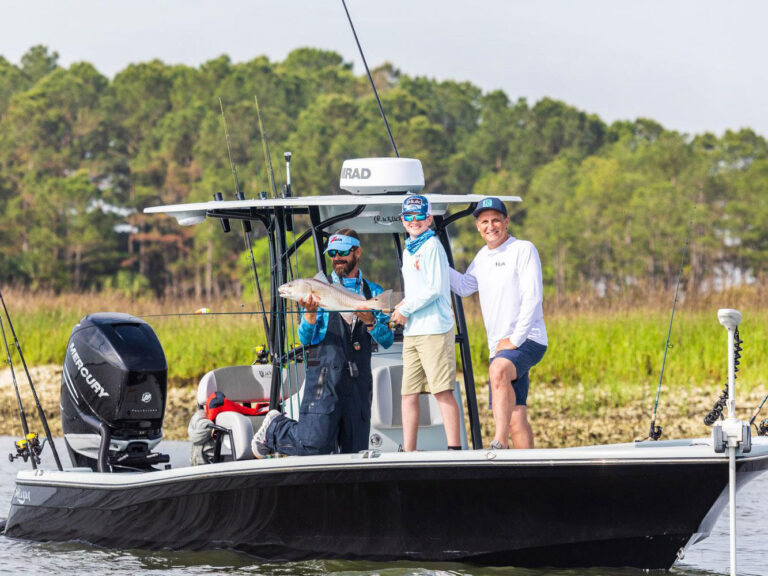
BlackJack’s 256 Bay is built to withstand the rigors of hardcore anglers and professional guides.
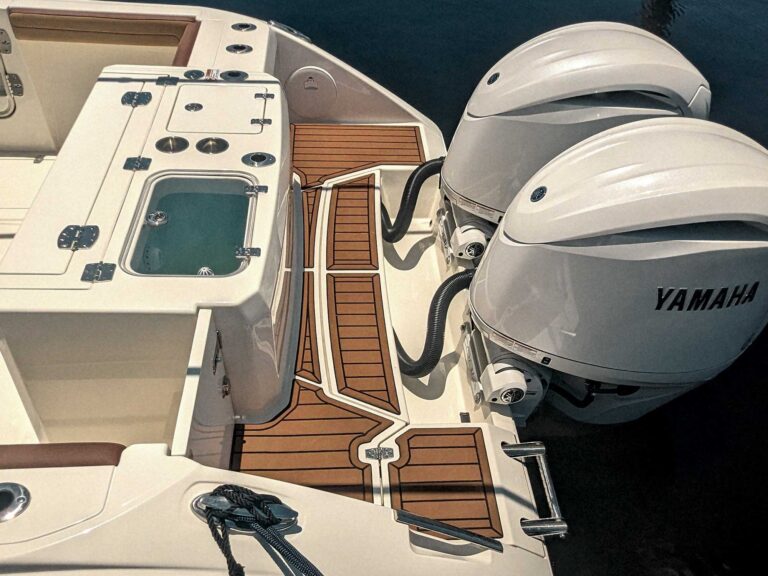
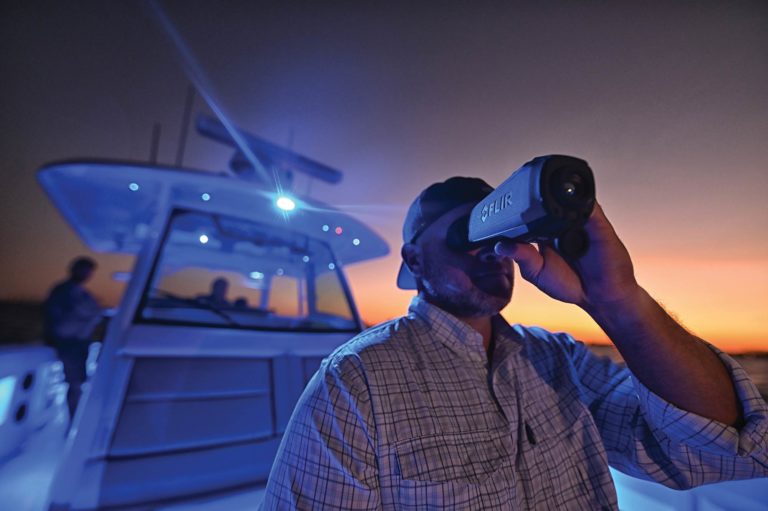
If you’re in the market for a new boat, here are seven key features that make a good fishing boat a great one.

As the energy industry evolves, scientists study how offshore wind infrastructure impacts fish populations and angling.
Here’s how to align the factors for success and how not to screw it up, according to three top native Bahamian guides.
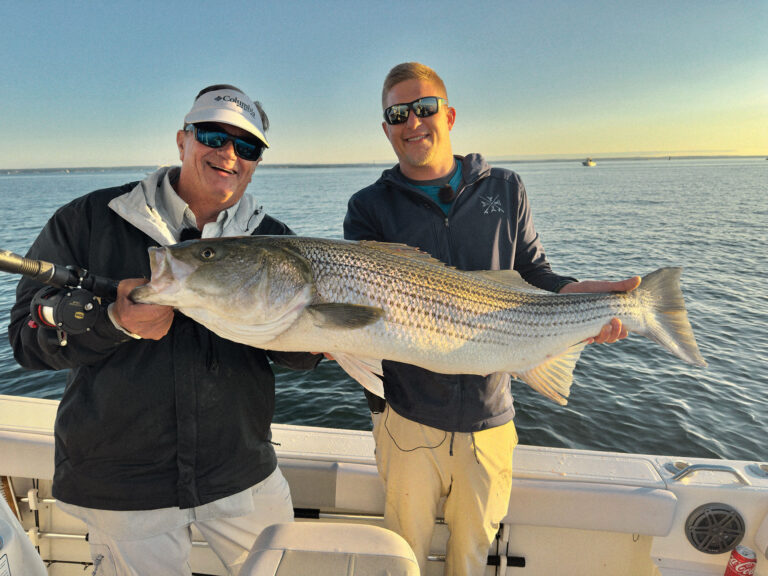
Trophy striped bass are being caught in Western Long Island. Use these tips to target them on topwater plugs and jigs.
The tactics and techniques forged in this historic resort town impact big-game and tournament fishing worldwide.