A lot of things make fishing my favorite sport; eating fish is high on the list. The way I look at it, harvesting a fish is a heavy responsibility. To show respect to the fish, we should strive to enjoy it to the utmost. I try to use the proper storage, transport, processing and preservation techniques and equipment, and I think my fish-cleaning game is pretty good, but I know it could be better. So, when I was assigned to learn the latest and greatest tools and tactics in fish processing, I already had a list of questions.
Pros in the Know
My first call was to legendary angler and chef Cosmo Goss. With 20 years experience in sea-to-table fish processing, Goss has worked in and consulted with the best restaurants in the world.
My second stop was Holly Hearn, a lifelong angler and game-and-fish chef. Hearn learned the ropes by fishing and cooking on high-end sport-fishing boats and at exclusive fly-in fish camps. Now, she uses her experience to run a ready-to-eat meal service for offshore tournament teams.
Fresh From the Start
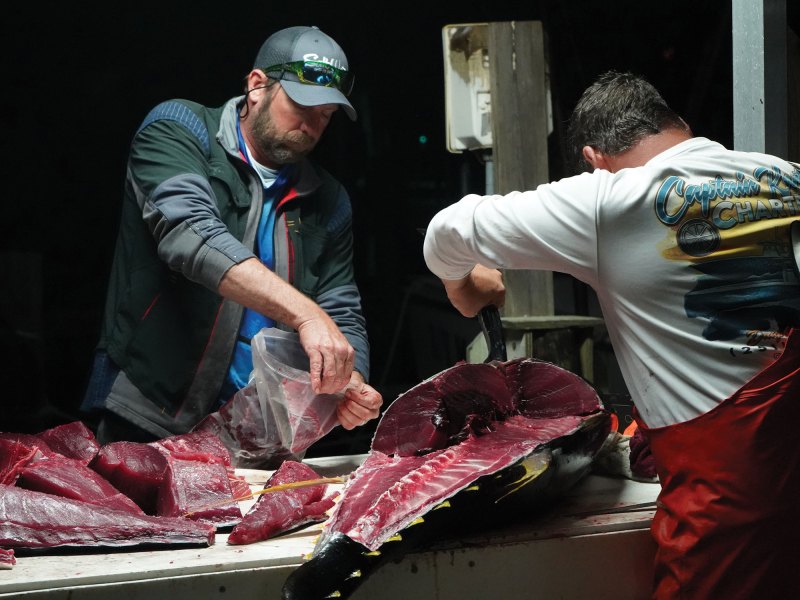
Fish processing begins the moment a fish leaves the water. Both Goss and Hearn emphasize the importance of a proper end-game to produce quality results. “The key is to bleed and incapacitate the fish to produce the best flavor, texture and smell,” Hearn says. With large tuna, Goss performs the operation on the side of the boat. “Once the fish is in the boat it likes to flop around, smash things and bruise the meat,” he said. To kill a fish, first, bleed it by severing the artery behind the pectoral fin or removing the gills. Then, drive a short spike into the fish’s brain. Finally, cut off the tail and thread a thin wire up the fish’s spinal column to immediately disable the fish and relax the muscles to prevent the release of lactic acid. These three steps come from a traditional Japanese technique called Ike Jime.
Most of us are familiar with braining and bleeding fish to limit their suffering while also yielding a better finished product. The third step uses a thin wire tool called a Shinkei Jime to immediately cut off residual neural signals between the spinal cord and the muscles. At the tail cut, feed the wire into the cavity just above the spine that holds the spinal cord. Run it up to the brain, and pull it back and forth a few times. This produces fillets that taste better and stay fresh longer.
Ice it Down
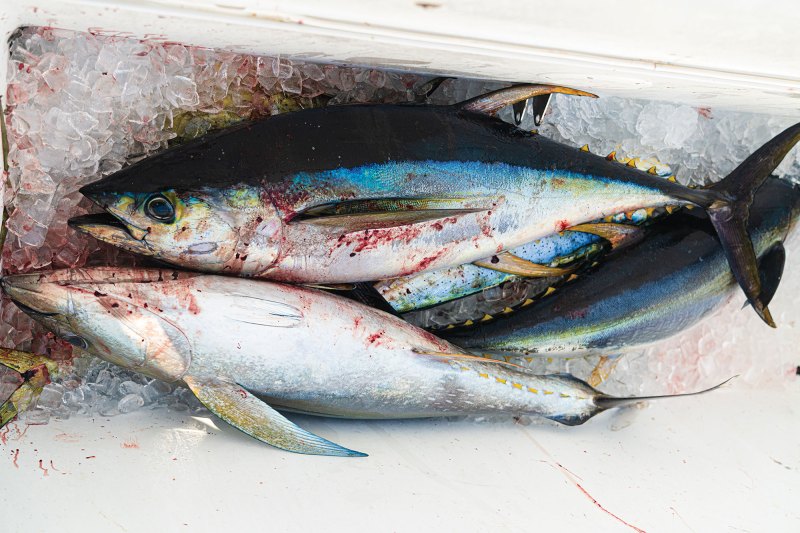
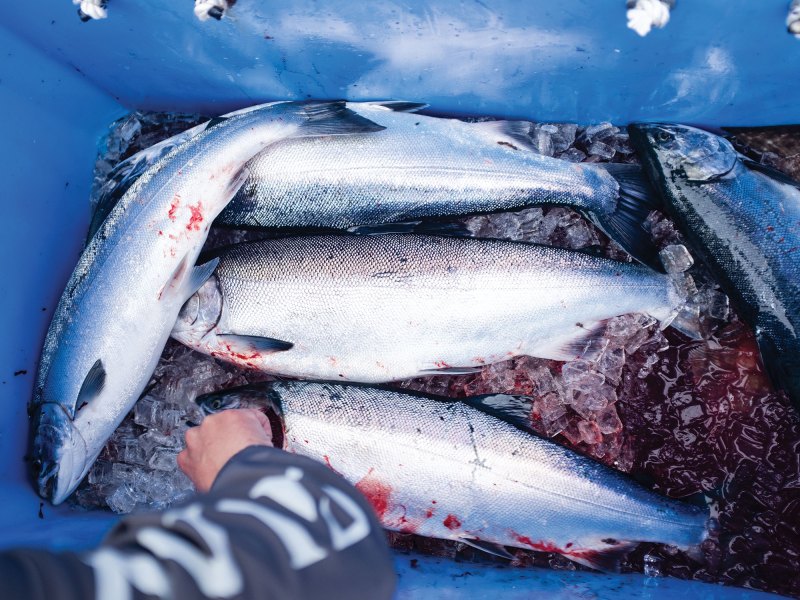
Once a fish is disabled, it goes straight into ice. Goss uses a slurry of ice and sea water that cools fish faster than regular ice. Hearn prefers to pack fish in regular ice, but it must be well drained. “Don’t let the fish touch fresh water,” Hearn says.
When Goss returns to the dock, he drains the sea-water slurry and leaves the fish on ice overnight. “Let the fish go through rigor mortis before cutting,” he says. Cleaning the fish before it is stiff results in chewy, tough meat, Goss says.

Razor’s Edge
When it’s time to clean fish, Hearn emphasizes a clean and safe space for swinging knives. “Fish slime and sharp knives don’t mix,” she says.
Dull knives and fish slime don’t mix either, and both chefs keep their blades razor sharp. “My motto is sharpen often, hone always,” Goss says. He uses 1,000- to 6,000-grit wet stones to sharpen his knives and a steel and ceramic sharpener for field sharpening.
In between full sharpenings, Hearn uses a three-sided Work Sharp sharpener to keep her blades honed. “The sharpener has ceramic rods angled for outdoor knives and kitchen knives,” she says. For the final touch, she uses a sharpening steel.
A sharp knife is a safe knife, and it’s more efficient for cleanly removing the maximum amount of meat from a carcass. When it comes to knife choice, Hearn prefers to replace her boat knives regularly to maintain the highest sharpness and quality. “I have professional knives at home, but on the boat I use inexpensive knives that I can sharpen until they need to be replaced.”
Goss cleans fish with an arsenal of Bubba knives. “I rely on a 7-inch flexible blade for filleting fish,” he says. To chop through bone and thick skin, he likes a knife with a short, heavy blade. For a large tuna, he uses a stiff 9-inch blade. Rounding out his fish-cleaning kit, Goss carries a Japanese fish scaler, pin-bone tweezers and kitchen sheers.
Throughout the cleaning process, the meat should never encounter fresh water. Hearn uses paper towels to remove scales and slime. “Fresh water changes the fish on a cellular level,” she says.
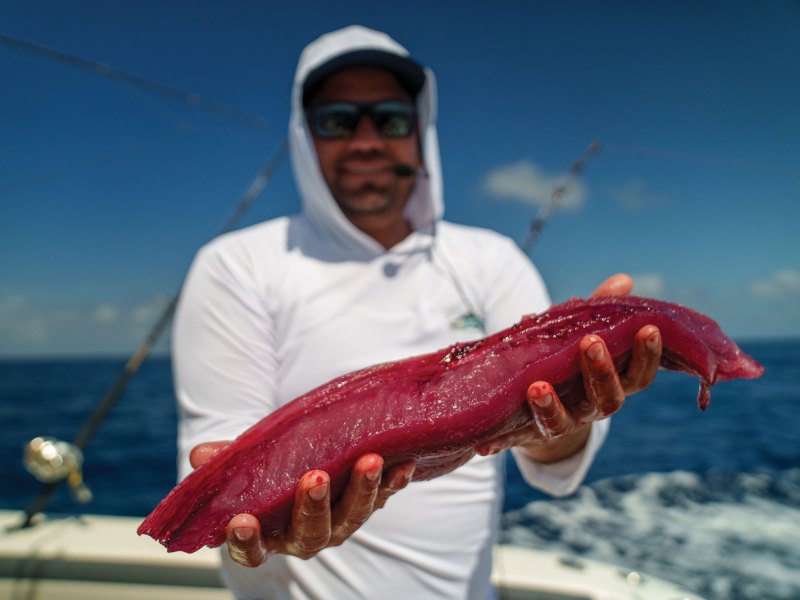
I used to rinse fish after cleaning, before storage and before cooking. Recently, I stopped rinsing fillets until just before I cook them. Making the change was difficult at first, and wiping away blood, slime and scales instead of rinsing takes a little more time, but I can taste and smell the results with firmer and more flavorful meat.
Homework and Storage
When Hearn gets her catch home, she uses paper towels to pat dry the meat. Then she layers paper towels and fish fillets in a shallow pan before storing uncovered in the refrigerator. “Letting the fish dry allows the proteins to relax so the meat is more tender and tastes better,” she explains.
Both chefs store fish in the refrigerator for up to a week. “Every fish has a different storage period, use your nose to test freshness,” Hearn says.
For longer-term storage, both chefs vacuum seal their fish. Hearn calls the vacuum sealer “mission critical.” The pros rely on large, powerful chamber vacuum sealers that create a vacuum inside and outside the bag to remove all air and consistently seal the bag.
Read Next: Best Fish Processing Gear for Fishermen
To vacuum seal fish at home, Goss uses a smaller, more manageable 12-inch Chamber Vac by Meat!. “It lives in my laundry room,” he says. The chamber vacuum allows pressure and seal adjustments to accommodate meat with different consistencies and textures.
Hearn swears by her professional vacuum sealer, but in a pinch she uses an external vacuum sealer. “The most important thing is removing the air and closing the bag with a strong seal,” she says.
Once vacuum sealed, fish can survive another week in the refrigerator or up to six months in the freezer.
To thaw fish, Hearn moves the meat to the refrigerator for 24 hours. “If it is still a little frozen, I’ll run the bag under cold water for 30 minutes,” she says.
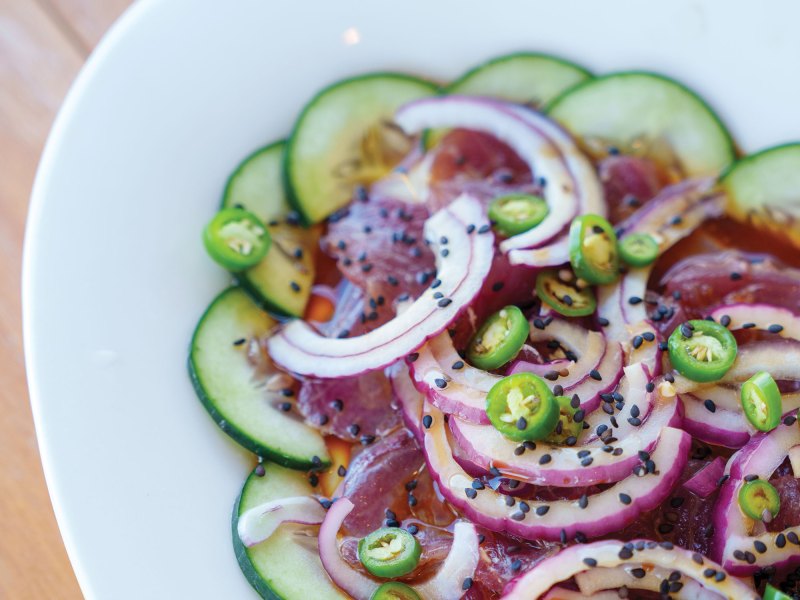
Goss and Hearn are excited about the recent trends in fish preparation. Now, many of the tools and practices of the masters are available to the home chef. The results are palpable when the fish hits the plate.