Borski Slider Main
Click through all the images above to see the photo step-by-step instruction
The saying “Some flies catch fish and some flies catch fishermen” definitely holds a certain amount of truth. Some flies are simply more enticing to the potential buyer than they are to the fish they were intended to catch. Tim Borski’s Borski Slider is an exception that looks good and fishes even better. The first time I saw this pattern, I was a novice fly-angler, and even though I knew very little at the time about what worked and what didn’t, this pattern spoke to me. It just had this buggy look that made it look like food.
Getting It Right
Because I was completely broke, any flies I put in my box had to be created at my vise, and I struggled in a big way getting the hang of it. I wish I knew how many patches of body hair and pelts of craft fur I went through in order to get it right, but eventually I did, and when I did, the results made all the time and effort well worth it.
Though the Borski Slider (slightly different than pictured) was originally designed to catch trophy bonefish in the Florida Keys, I quickly found that this fly was an absolute must-have for sight-fishing opportunities farther north for species such as redfish and trout. It was on the flats of St. Petersburg, Florida, where I first witnessed how effective a properly presented slider could be. In fact, the first redfish I ever cast this fly to ate it with a vengeance. The dancing action provided by the craft fur tail in combination with the breathing qualities of the hackle collar allows the fly to move with very little angler interaction. Another beautiful aspect of the Borski Slider has to do with the deer hair head. Flies with dumbbell eyes don’t always land as softly as those with bead chain or those without eyes at all; however, I feel that the deer hair head cushions the slider’s entry into the water. It also slows the sink rate of the fly, which can be advantageous in skinny-water sight-fishing scenarios.
Hints for Tying Success
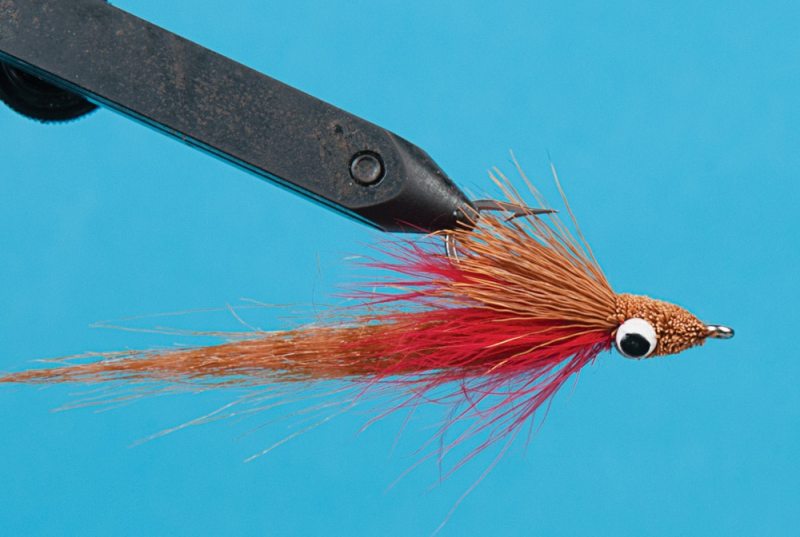
When I first began tying flies, I wouldn’t fish a pattern until it looked just like the ones that filled the boxes in the fly shop. In most cases, I could accomplish this after a couple of tries, but for some reason, the Borski Slider literally took me months to master. What I learned was that the placement of the material is everything as far as getting this fly to look right. In the beginning, I was tying the tail way too far back on the hook shank and was also tying the eyes way too close to the eye of the hook. This left a much larger area on the hook shank to fill in with body hair, and therefore the proportions of the fly were all wrong. What I found to be the recipe for success was to tie the tail in almost directly behind the dumbell eyes and, instead of palmering the hackle forward, to palmer it almost on top of itself. Doing this made all the difference in the world — in my initial attempts, I was using as many as five clumps of body hair, and now I was using only two. The goal is to keep all the materials compact. The other tip that I can provide that adds to the aesthetics and fishability of the Borski Slider is to separate the palmered hackle on the top and the bottom of the shank and twist separated halves in a way that keeps them positioned on the sides of the shank. After I made these slight adjustments, the fly looked picture-perfect and I couldn’t wait to test it out, but when I did, I was extremely disappointed.
When I made my first cast, the fly floated, which was perplexing considering it had dumbbell eyes. I realized right then and there I was grossly overdressing the fly with each material. That is the most important thing to consider when you tie this pattern. Keeping the materials sparse leaves no room for error, and therefore, getting it to look right and thus to fish properly will likely take some time, but when you do get it right, you will not want to be on the flats without at least a few Borski Sliders.
MATERIALS
THREAD: Flat wax nylon
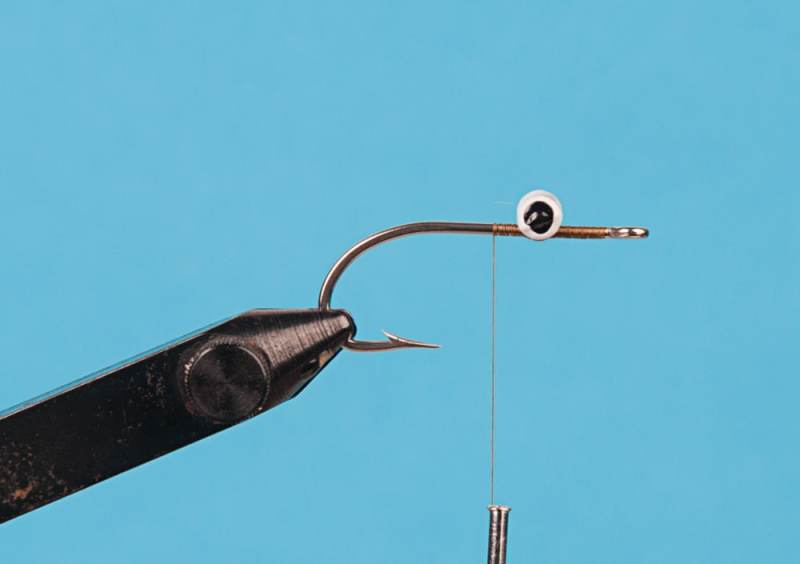
HOOK: No. 2 Mustad 34007
EYES: Small, lead dumbbell eyes
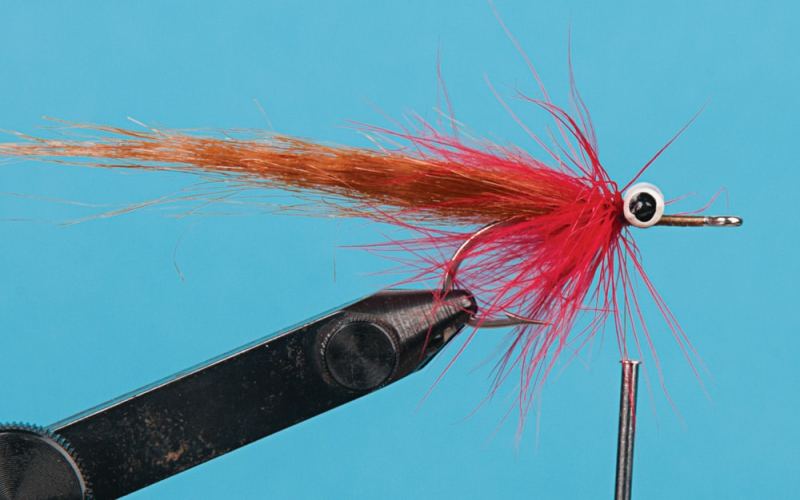
TAIL: Tan craft fur
COLLAR: Red saddle hackle
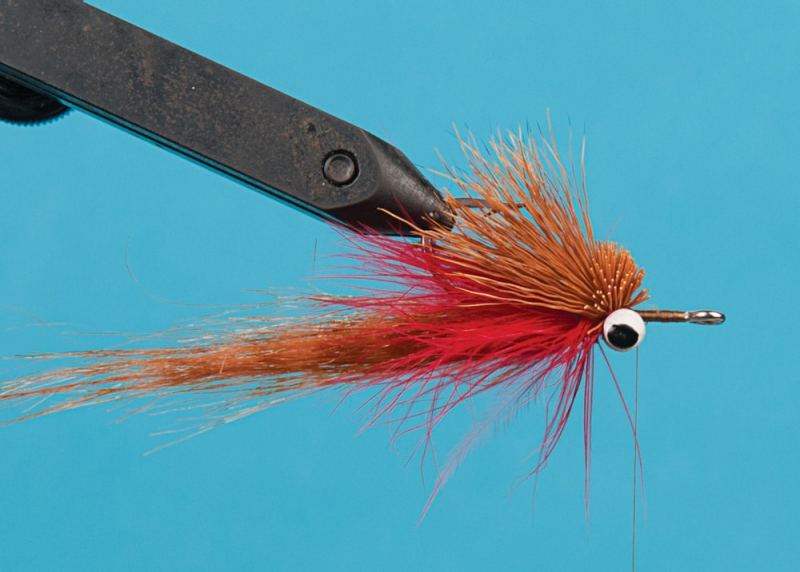
HEAD: Tan deer body hair