Four decades have passed since I first dialed in the sensitivity (also known as gain) of a fish finder. That old-school echo sounder sported a paper readout, and I had a mentor on board to help me learn. Longtime friend Guy Skinner coached me through the process. His tips were immensely helpful, but it took subsequent trial-and-error over a number of coastal trips to hone my tuning skills. The practice paid off because I found rich bottom habitat and consistently caught fish.
Fish-finder technology has advanced mightily since that time. Long gone are the days of paper machines. Today, bright daylight-viewable LED color screens offer outstanding definition. Chirp echo-sounding technology enhances detail and eliminates extraneous clutter. And automatic settings grant almost hands-off operation.
That said, fine-tuning a fish finder’s sensitivity settings remains a critical skill, especially when the water depth and/or target species change. In these situations, the same techniques of yesteryear still apply. “You can almost always get a better fish-finder reading by tweaking the sensitivity settings, even when it’s in auto mode,” says Steve Bradburn, fisheries and specialties product manager for Furuno USA. “Whenever the fishing situation changes, readjusting the sensitivity will help you better find fish and structure.”
Changing Filters
So, how does fish-finder sensitivity function? Think of it as a filter. Sensitivity has nothing to do with the power or transmission of a sounder. Rather, it serves to filter the returning echoes as they are displayed on the fish-finder screen. As you turn the sensitivity up, it filters fewer of the echoes. When sensitivity is maximized, the screen can become obliterated with returns because few to none are filtered out. As you turn the sensitivity down, it filters more of the returns, and when set very low, the fish finder may show nothing because all returns get filtered out.
David DeVos, senior regional sales manager for Garmin, uses another analogy. “It’s like the squelch on a VHF radio,” he says. “Turn up the squelch too much, and you hear nothing. Turn it down too much, and all you hear is static. The same applies to fish-finder sensitivity.” The idea is to strike a happy medium that allows you to read the bottom and fish well, but without an excessive amount of onscreen clutter.
Basically, there are two modes in which you adjust sensitivity. One is in the fish finder’s automatic mode (more on this later). But if you have an older fish finder without auto mode (or just prefer old-school methods), you can use manual tuning techniques to better see the ocean floor and fish. The following methods can apply to a single-frequency or chirp sounder.
Bottom Line
Skinner taught me to better understand bottom composition using the manual sensitivity mode.
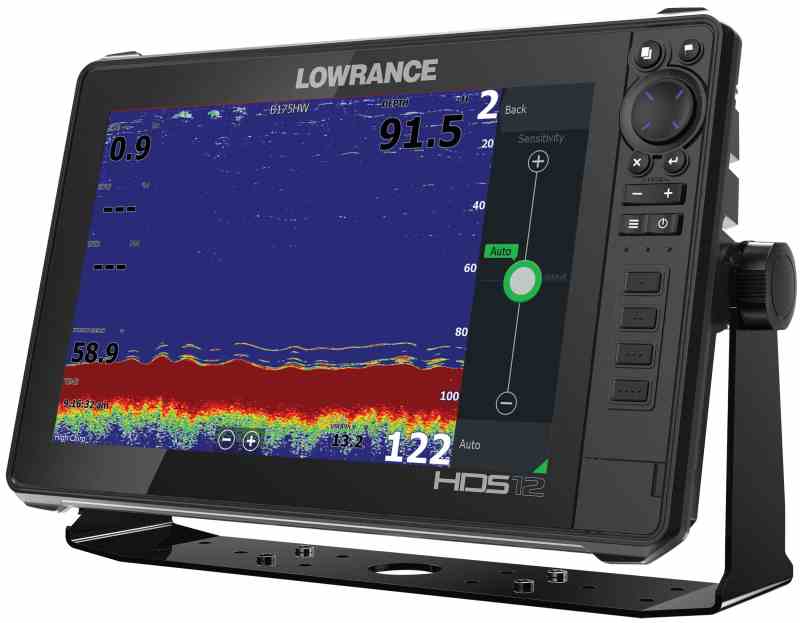
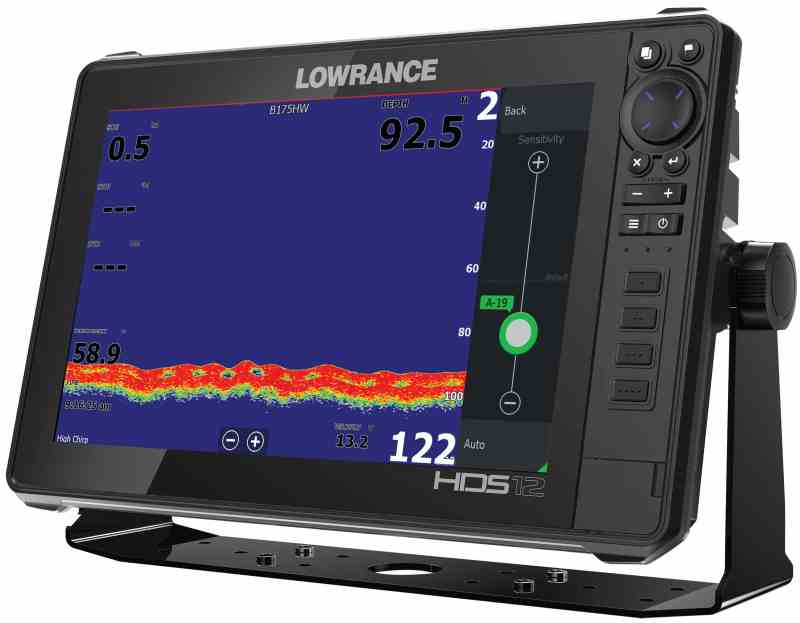
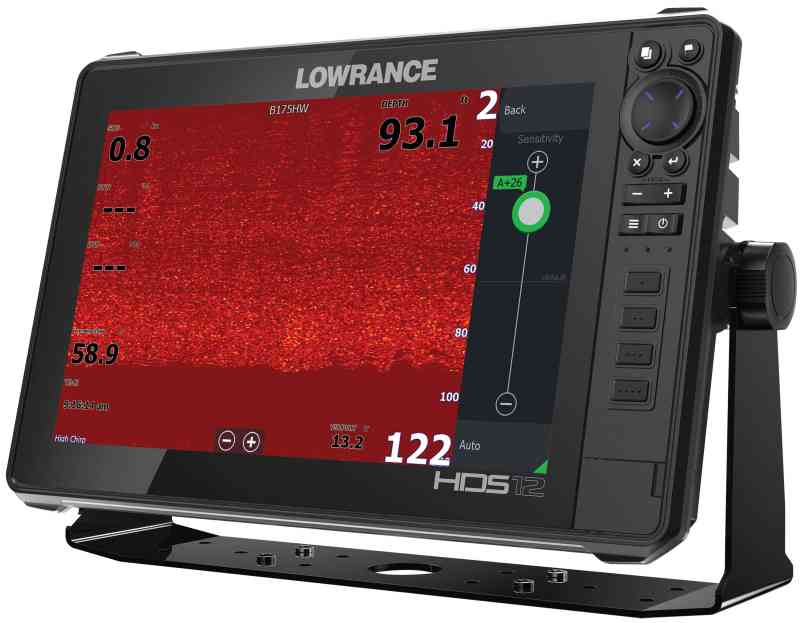
It starts with setting the depth range to slightly greater than double the actual depth. If, for example, the depth is 50 feet, set the range to about 110 feet. Then gradually turn up the sensitivity until a large second bottom echo appears. Then scale back the sensitivity just a tick or two.
Using this method, a relatively thin second echo indicates softer bottom substrate such as mud or sand. But as the second echo grows deeper and darker, it indicates a harder seafloor such as rock or scattered rubble. These are sometimes called “live bottom” areas, and although they might not possess much relief, they often hold forage and gamefish.
Happy Medium
Bradburn offers a method for defining fish returns using manual mode. Start by turning off the clutter mode and turning the gain up to the maximum (which will likely obliterate the screen), then gradually turn it down to clean up the display but still see targets, including both fish and the bottom. The idea is to reach a happy medium between too much and too little sensitivity.
“You might want to repeat this process whenever the water depth or target species changes, over the course of a single day of fishing or from one trip to the next,” Bradburn advises.
Auto Works
Adjustments can also be made when a fish finder is in auto-sensitivity mode, but the starting point is different from when using manual techniques, DeVos explains.
“Auto gain works really well, and many anglers rely on it to read bottom and also find fish,” he points out. “But it can be tweaked to improve the readings in changing situations.”
To make any adjustments, start with the sensitivity level preset in the auto mode. From there, you can slightly increase or decrease gain to see if the reading improves. “A little bit [of adjustment] goes a long way in auto mode,” DeVos says. “Ultimately, the best way to learn how to adjust sensitivity is to get out on your boat and use it.”
With time, experience and successful days on the water, you will build confidence and know-how in the techniques for fine-tuning your fish finder—perhaps enough to teach lessons of your own in sensitivity training.
Right Frequency
There are other factors beyond the sensitivity levels that influence the quality of readings on your fish finder. One of the most important is using the best frequency for the depth you are fishing. For example, sensitivity adjustments won’t help much if you are trying to read fish or bottom in 2,000 feet using a high frequency with a maximum effective depth capability of 300 feet. With this in mind, ensure that the frequency of your fish finder (and transducer) is rated to read effectively at the depths you are fishing.
New Electronics
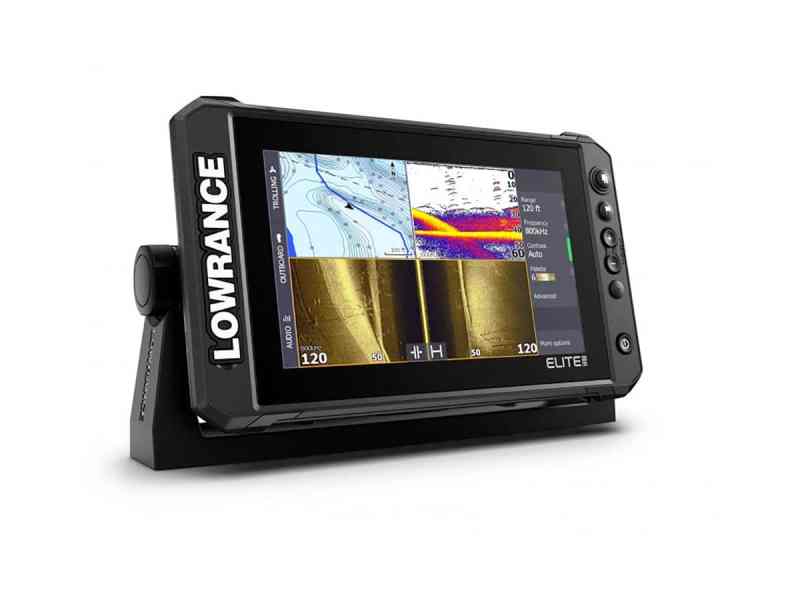
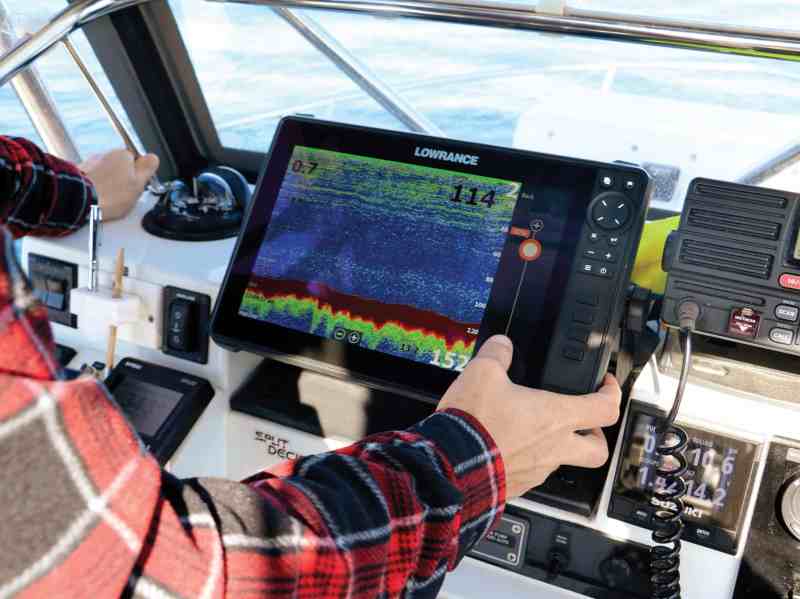
The Elite FS series MFDs from Lowrance combine high-resolution ActiveTarget Live Sonar, Active Imaging, SideScan, DownScan and C-Map Contour+ fishing charts. Full networking with Ethernet and NMEA 2000 lets you add a Halo dome radar or Outboard Pilot, or share sonar, charting, waypoints and other data between multiple displays. Available in 7- and 9-inch models with different capabilities. $649 to $1,149; lowrance.com
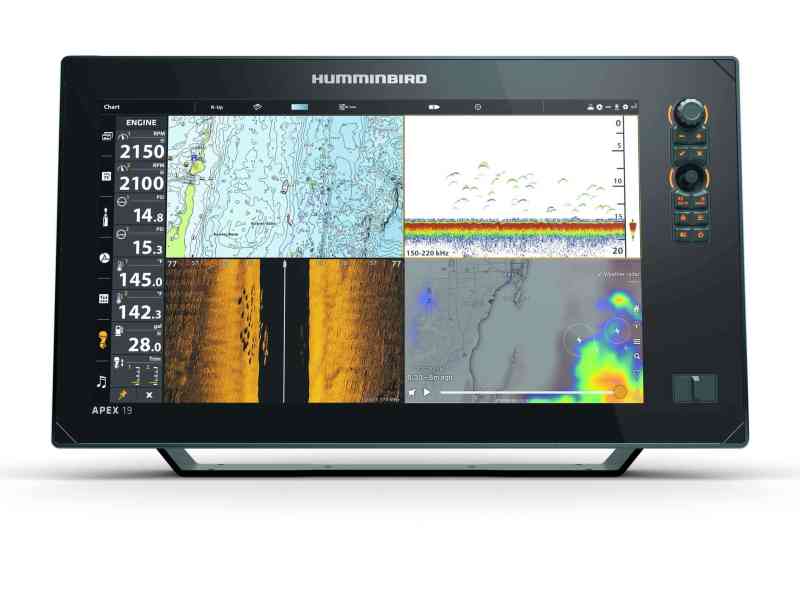
Humminbird’s Apex series MFDs incorporate NMEA 2000 networking and advanced sonar technology. Six models, from 13 to 19 inches, feature Cross Touch interfaces, dual-core processors, and One-Boat Network compatibility to integrate and control chirp radar, CoastMaster charts, Minn Kota shallow-water anchors and i-Pilot Link trolling motors, Cannon downriggers and more. $3,699.99 to $4,999.99; humminbird.com
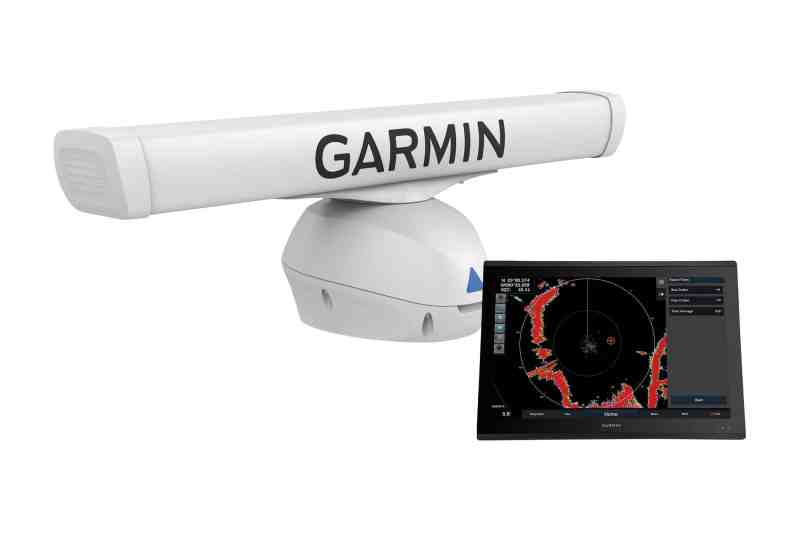
Garmin’s Fantom 254 and 256 open-array radar systems deliver 250 watts of pulse-compression power. Both models include Garmin’s MotionScope technology to detect and highlight moving targets in different colors to help avoid collisions, find birds and track weather. Features include scan-to-scan averaging, improved MARPA with Automatic Acquisition, and a target range of up to 96 nautical miles. $9,999 and $10,499; garmin.com