Sassyglass-5
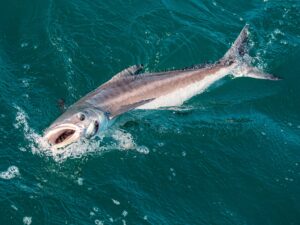
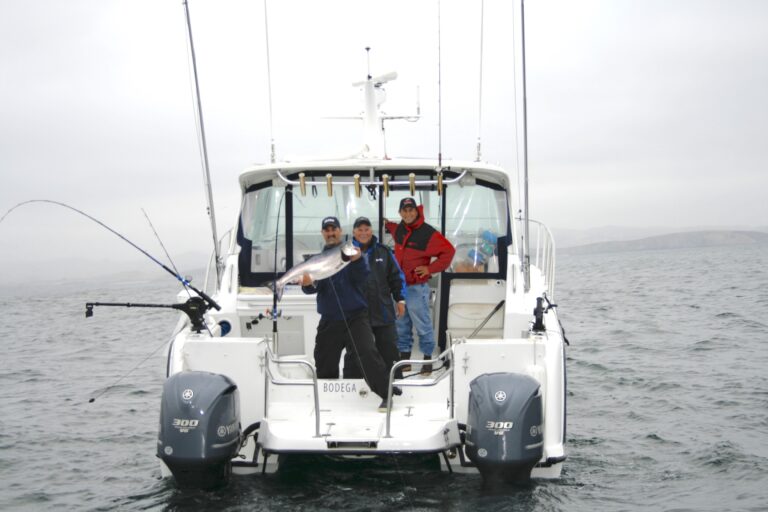
Little tunny, or false albacore as they’re commonly known, regularly provide Capt. Gerry Duran and me with some of the year’s most exciting, drag-screaming action in our area. Every season, you’ll find us scouring the coast off St. Petersburg, Florida, in search of these tunny torpedoes.
A few years ago we were running and gunning toward a large school of albies as they devoured bay anchovies on the surface. I had my favorite all-around fly tied on, and even though I laid it into the middle of them several times I couldn’t get bit. I fruitlessly continued to cast until I realized that the fish were feeding selectively and that only a very good glass minnow imitation would have worked.
That evening I began construction on the Sassy Glass, one of my most productive little tunny patterns. I wanted a design similar to Roger’s Beach Glass and Enrico’s Glass Minnow, with an epoxy body for realism and a little added weight to help get it down. I also wanted it to have a lot of movement. To get the proper action, I needed a lightweight, soft material for the tail that would swim when pulled through the water. I knew that either craft fur or polar fiber was the answer because they both have superfine fibers.
Choosing the right hook for this pattern was also a series of experiments. Heavy-gauge hooks overpowered the fly during my tests, but lighter-gauge wire would bend easily under the strain of the powerful fish. I rummaged around until I found three #2 Gamakatsu SC15 wide hooks. These were just about right, but the gap was a little narrow. I solved this problem easily by opening up the gap slightly with pliers before I started tying.
My first opportunity to field-test this fly came two weeks later when we saw a tornado of diving birds from a couple of miles away. On our approach I could see sprays of glass minnows, so I scrambled for my bag and found the three virgin Sassy Glasses. I tied one on and when we got in front of the school, I launched a cast into the frenzy and started a quick retrieve. Within seconds my fly got nailed – the Sassy Glass was officially a success! I caught albies until I thought my arms would fall off; since then, this pattern has become my go-to fly whenever we find these fish on the blitz.
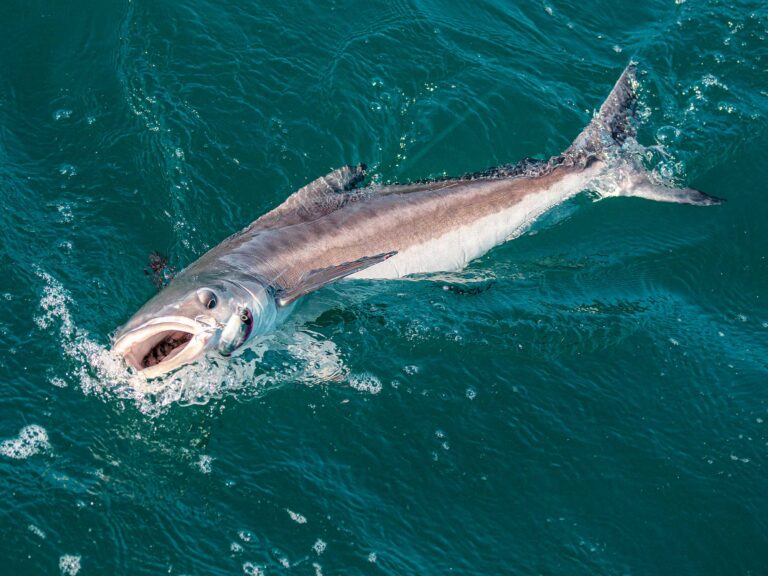
I designed the Sassy Glass with false albacore and bonito in mind, but it’s also effective for many other species, including tarpon, sharks, bluefish, mackerel, snook and ladyfish. You can tie it in different sizes and even tint the epoxy.
The next time you find yourself in the middle of an albie blitz, make sure you have some Sassy Glasses in your box. I think you’ll find them to be a staple in your tote of tuna flies, too.
Materials
HOOK: #2 Gamakatsu SC15 wide, slightly bent to open the gap
THREAD: Fine monofilament and white Danville flat-waxed nylon
TAIL: White Polar Fiber
FLASH: Pearl Krystal Flash, holographic Flashabou, white or silver Flashabou
WING: Olive Polar Fiber
EYES: 1/8-inch prismatic stick-on
BODY: Five-minute epoxy
Tying Instructions
**_
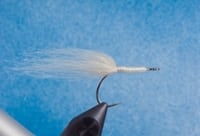
Step 1: Start by widening the gap in the hook. Then secure your monofilament thread to the shank just before the bend and make a half hitch to hold it. Cut a small bundle of white Polar Fiber to 1 1¼2 times the length of the hook and then tie it in. Make two wraps between the Polar Fiber and the hook to perk up the tail. Tie in the white flat-waxed thread and make enough wraps to build up the diameter of the body. Whip-finish and cut this thread.

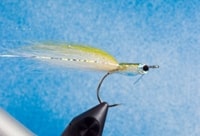
Step 2: Cut a bundle of olive Polar Fiber roughly half the diameter of the white material used for the tail. Make sure it covers the entire shank and reaches the end of the white Polar Fiber. Tie this in on top of the hook and secure it to the shank with several spiraling wraps, then add a small piece of white Flashabou to the underside of the body. Trim excess.

Step 3: Wrap in three to four strands of pearl Krystal Flash on each side of the body in between the olive and white Polar Fiber. Next, tie a single strand of holographic Flashabou on each side over the top of the Krystal Flash. Trim the flash to match the length of the tail.
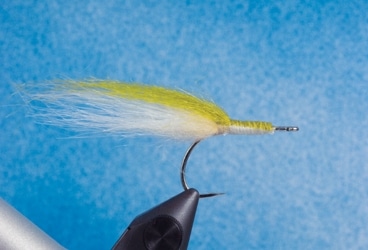
Step 4: Mix a very small amount of five-minute epoxy and apply it to the body making sure you don’t get any on the tail. Use a bodkin or a toothpick to spread the epoxy to the underside of the hook shank, just behind the tail. Since this will be the first coat, don’t apply too much – just enough to lay the foundation. Shape the body with the second coat. After the epoxy sets on this first coat, place the eyes. If necessary, use a cyanoacrylate glue to hold them in place.

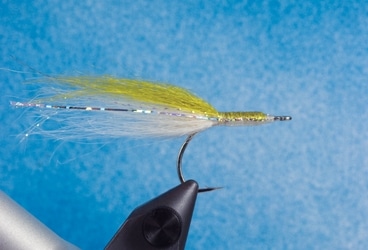
Step 5: For the final step, mix more epoxy slowly to keep bubbles from forming. Coat the entire body and allow the excess to drip down to the belly of the pattern. Once you have the right amount of epoxy on the fly, adjust the shape of the belly by redistributing the epoxy to the front or the back with your bodkin.

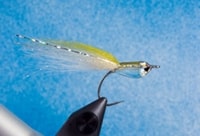
Tying the Sassyglass
Tying the Sassyglass
Tying the Sassyglass

Tying the Sassyglass