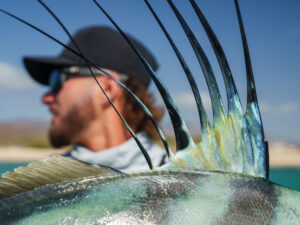
Designed by Martha’s Vineyard guide Jaime Boyle nearly 15 years ago, the Bonito Bunny has proved to be one of the most versatile and effective saltwater fly patterns around. Boyle first tied the Bunny in 1990 for the Vineyard’s summer speed demon – the Atlantic bonito (Sarda sarda). He found immediate success, and a classic was born. At the time, most bonito fishermen used small Deceivers, sparse Blondes and mono-wrapped Glass Minnows with only intermittent success. The Bonito Bunny was the first fly that practically ensured a bite from this picky eater. It’s no secret that the seductive movement of the rabbit hair is the key to this fly’s attractiveness, but few patterns incorporated this material in the early ’90s.
A good portion of the Bunny’s effectiveness comes from the bonito’s love for juvenile squid, whose estuarine exodus coincides with the arrival of bonito and other small tuna. This pattern is generally considered to be an imitation of small baitfish, but I think that many times it’s taken as a rogue peanut-size squid.
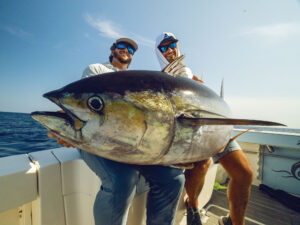
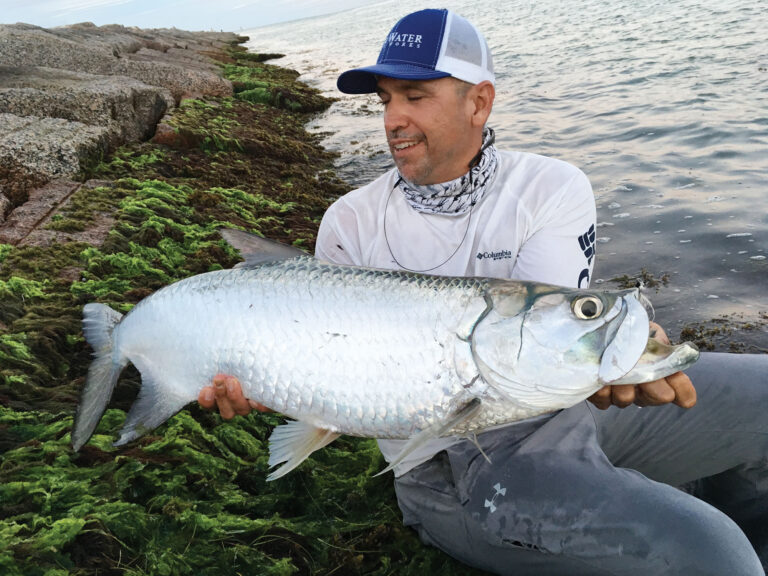
Known as a good choice for bonito and false albacore, the Bonito Bunny also works on a plethora of species in New England and even in warmer climes: Boyle has taken tarpon on it in the Florida Keys. Most tiers use white rabbit strips, but it’s deadly in nearly every shade. The simplicity and popularity of the Bonito Bunny are evidence that this classic saltwater fly pattern won’t be going out of style anytime soon.
Tying Instructions:
Step 1: Cut an appropriate length of pearl E-Z Body tubing and thread it on the hook shank. Make sure the rear end of the tubing extends past the bend while the front extends up to the barb. Direct any curvature in the tubing upward and keep the cotton string’s “lateral line” even on both sides.
Step 2: Pull the zonker strip through the E-Z Body tubing using a wire bobbin threader. Attach the thread, and tie both the zonker strip and the tubing down.
Step 3: (Optional) Attach a complimentary color of zonker strip on top of the hook shank, directly above the barb. Tie in the strip so that the hide faces up, and make sure that the grain of the hair points rearward when the strip is pulled forward.
Step 4: Tie in a length of zonker strip or crosscut rabbit either at the front of the previously tied-in strip (if you chose to use step 3) or directly above the barb, and wind the thread up to the hook eye. Be sure to secure either style of strip so that the leather side faces you. If using a zonker strip (as shown), be sure to tie in the bottom end of the strip. Wrap forward tight to the eye, and trim off the excess. Make several turns with the thread to hide any exposed hide and to create a smooth, but not bulky, head.
| Materials | |
| HOOK: #4 to 2/0 TMC 811S or similar THREAD: Flat waxed nylon and fine clear mono TAIL SUPPORT: Small pearl E-Z Body tubing TAIL: Zonker strip BACK: Complimentary color of zonker strip (optional) BODY: Zonker or crosscut rabbit strip FLASH: Pearl Flashabou EYES: Size 2.5 EY prismatic eyes GLUE: Head cement and epoxy | Step 5: If you used a complimentary dorsal color (step 3), trim off the hair on top of the hook shank. Pull the dorsal zonker strip forward to the hook eye, then tie it down and trim off the excess. Make several additional turns to hide any exposed hide and to create a smooth and slightly bulky head. Apply flash to both sides of the fly. Smooth out the head with additional turns of thread, and whip-finish. Step 6: Start the clear mono thread at the hook eye, and wrap back to the rabbit fur. Attach a prismatic eye to each side (one at a time), and make one or two turns of clear thread over each one. Whip-finish in front of the prismatic eyes. Apply epoxy and rotate until dry. |