My parents had to have been apprehensive and maybe even a little crazy. They gave me the green light to enroll in a college only minutes away from flats lined with overgrown mangroves. Giving the folks my best baby-of-the-family smile, I told them not to worry – that school would without a doubt remain my top priority.
When I convinced them that taking a job while in school was a good idea, I conveniently forgot to tell them I would be working in a fly shop with my best friend and roommate, Jim McGinley.
We didn’t keep many synthetic materials in the shop, so I had to make do with bucktails and hackles. Over time, I began to consider the appearance and movement inherent in natural materials as far more important than overall fly durability. McGinley and I experimented with fly designs by taking distinguishing elements from other effective patterns and putting them all onto one hook. Our first attempts were sad at best, but the fly that ended up clamped in the vise turned out to be just what we wanted. In its initial stages of development, we were almost ready to call the design complete without the spun-deer-hair head, but I thought something was still missing. Then a lightbulb went off in my head, and I asked McGinley why we couldn’t push everything back and add a spun head to finish off the fly. We started calling it the Lightbulb, and the name stuck.
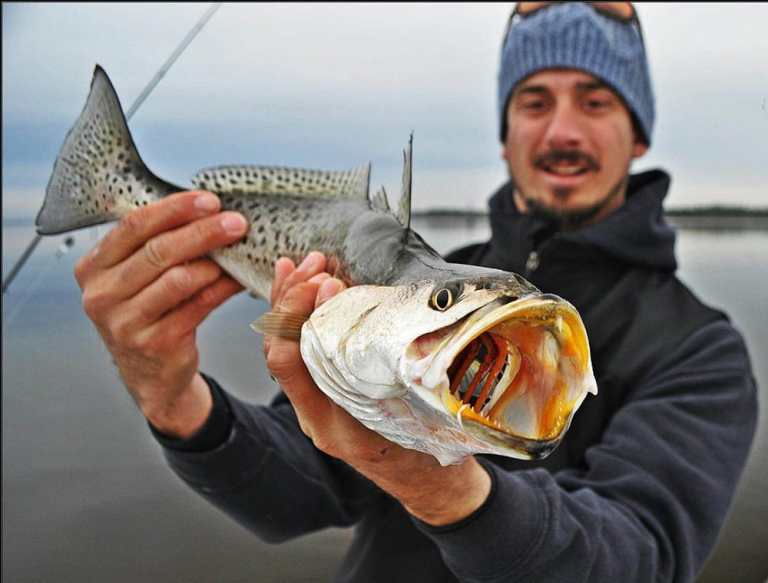
After we spent several minutes admiring our creation, we had to give it the ultimate test. I made my first cast deep under the mangroves in the coffee-colored water. Strip ? strip ? and the fish was on. It was a very respectable snook that broke off after only a few thrilling seconds, but the fly did its job and we were thrilled. The hackles, in combination with the marabou, permit movement as well as provide a nice profile between strips; the rabbit-fur collar and spun-deer-hair head allow the fly to push a small wake during the retrieve.
Originally, the Lightbulb was designed with the silver king in mind, but this pattern seems to turn on other species as well. This fly isn’t limited to tarpon and snook – I have also taken hungry redfish and big trout on it. It is most effective when retrieved with quick, short strips but will also get attention with a slow, continuous retrieve. To take full advantage of this fly’s movement in the water, your best bet is definitely to fish it on a floating line.
This pattern may not be the most durable one to leave the vise. But if you’re like me, if half of what you start with in your fly box has been destroyed or chewed by the end of the day, you know it was a good trip.
**
|| |—| | Materials| | HOOK: 3/0 Gamakatsu SC-15 THREAD: 6/0 copper Gudebrod TAIL: Rust-orange (or similar) Marabou WING: Four root-beer saddle hackles and two yellow grizzly hackles FLASH: Copper Flashabou collar: Natural brown rabbit zonker strip HEAD: Rust-orange (or similar) deer body hair | Tying Instructions**
Step 1: Start at the bend of the hook and wrap a thin layer of thread about halfway down the shank. This will keep the marabou and hackles from slipping when you attach them. Select a good-quality plume of marabou and comb out any extraneous fibers before securing to the hook. Find two sets of matching saddle hackles (two root-beer and one yellow grizzly per side) and secure them splaying outward away from the marabou.
Step 2: Arrange six to eight strands of copper Flashabou on top of the wraps used to secure the wings and body. Clip the flash almost even with the hackles, or you can let it extend slightly past in a Flash Tail style if you prefer.
Step 3: Tie in the rabbit strip on top of the wraps. By this point, you will likely have developed a large bulb of thread used in securing the marabou and hackles. The rabbit strip will contribute to this problem and can make wrapping it difficult, but you need to keep the material as close to the shank as possible. To do this, take the rabbit strip and cut the fur off of the first 1¼8 inch, leaving the skin bare. Then, cut off a sliver of the exposed skin on each side, leaving a skinny piece to tie onto the hook. Once secured, wrap three times and tie off tightly.
Step 4: Cut a moderate clump of deer body hair as close to the skin as possible and place in a stacker to even out the tapered ends. Place this first clump directly in front of the rabbit strip and cinch tight, leaving the entire bunch on top of the hook, covering the collar. Do not spin this first bundle. Cover the rest of the shank with as many clumps of hair as you need by spinning the fibers all the way to the eye. After securing each clump, push the hair back to allow a much tighter and, therefore, more buoyant head. Whip-finish.
Step 5: With a razor blade, trim all the spun hair except the tapered tips left from the first clump and carefully groom the head into either a bullet or cone shape to finish.