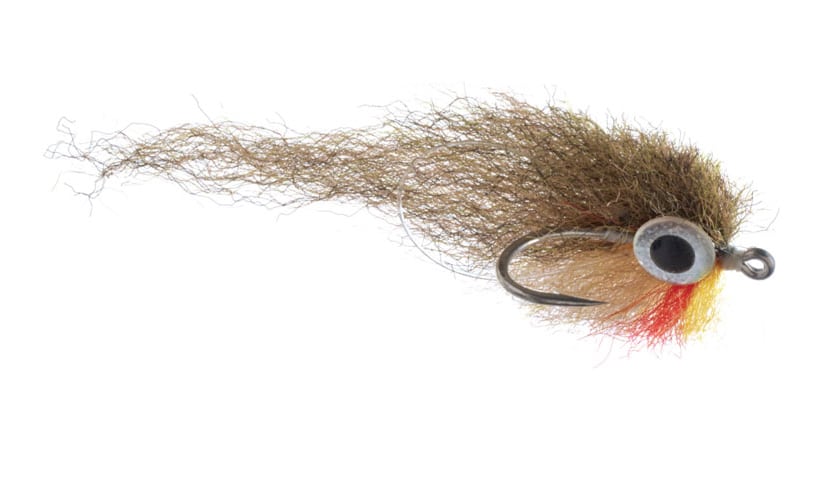
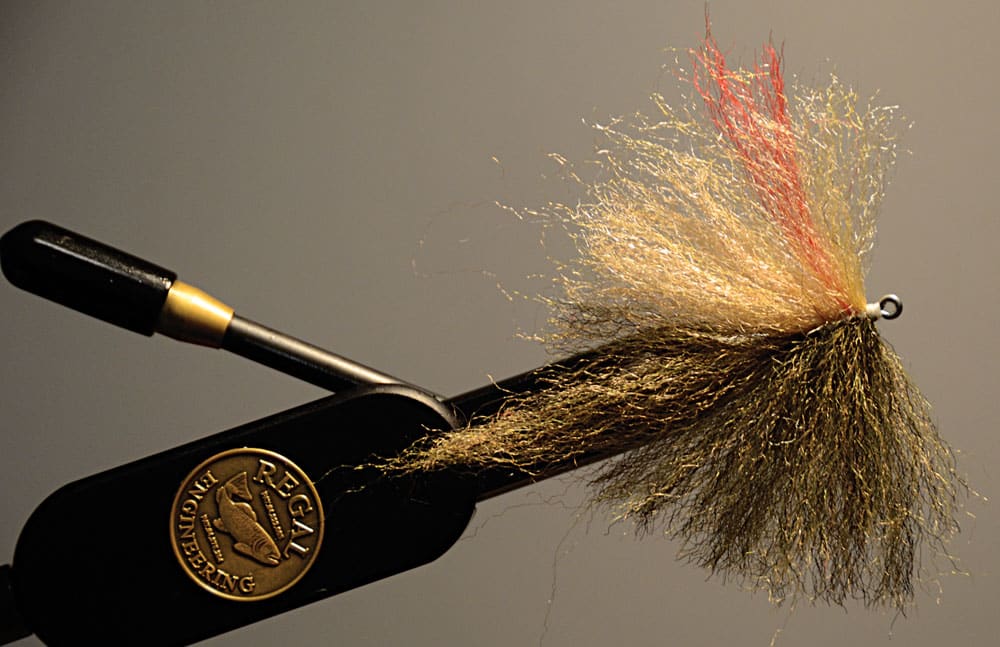
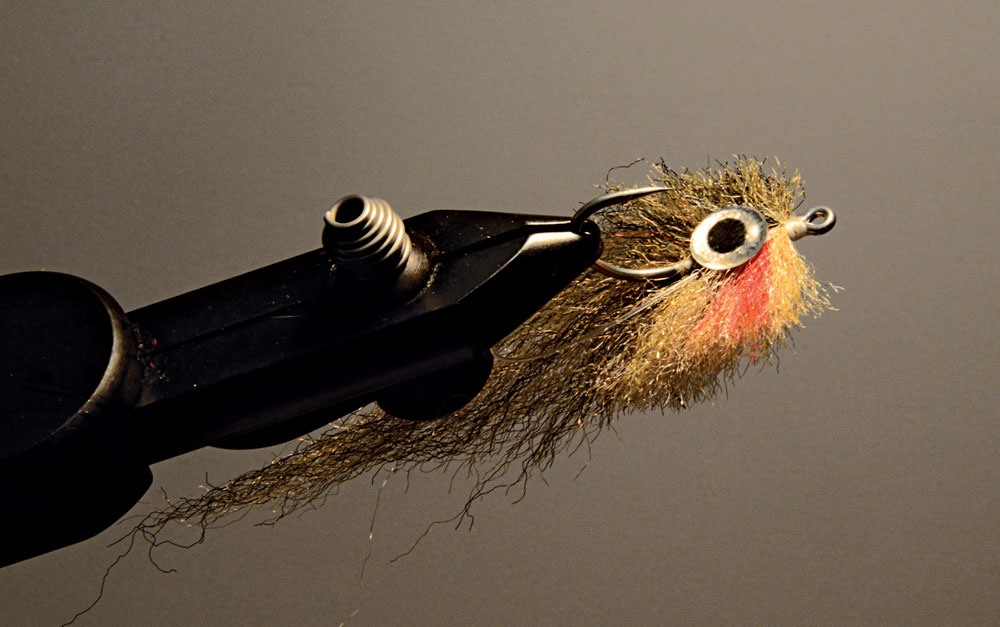
Follow through the gallery to see step-by-step instruction to tie the EP Otis.
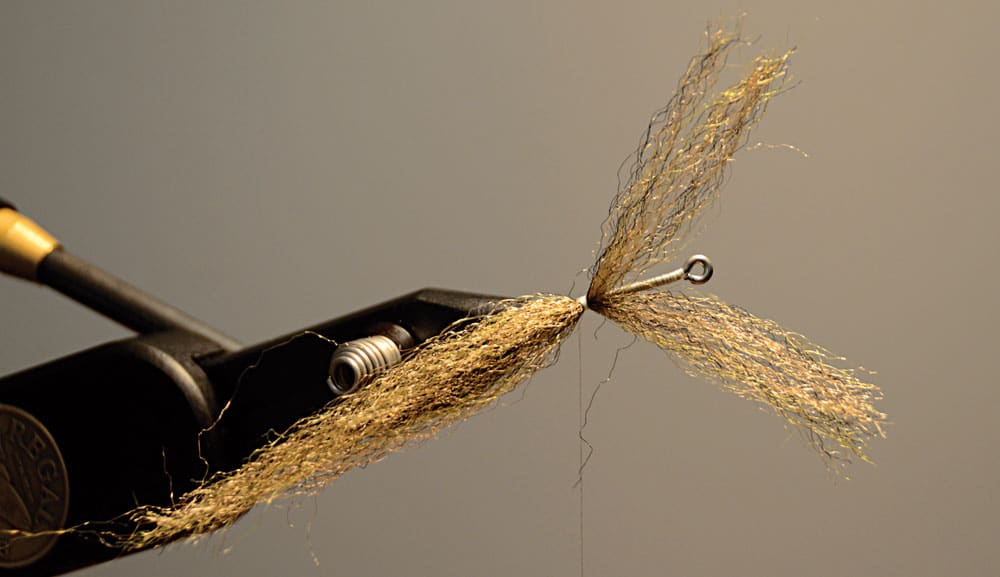
1) Starting at the eye of the hook, wind the thread to the bend of the hook, and then tie in the EP Fibers tail.
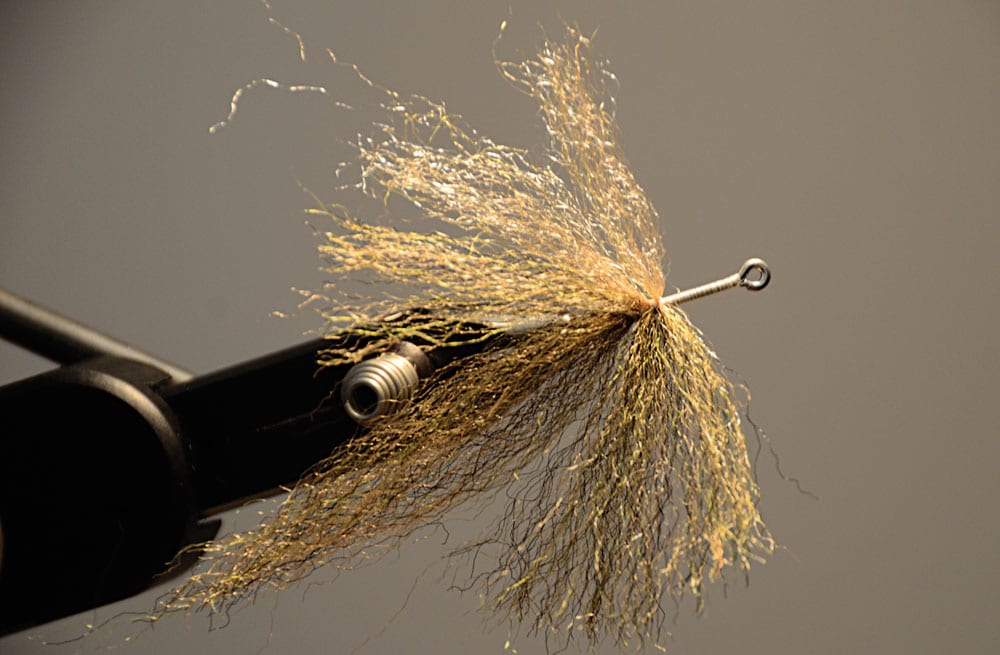
2) Move forward toward the eye of the hook in a high-tie fashion, tying in the appropriate color on each side.
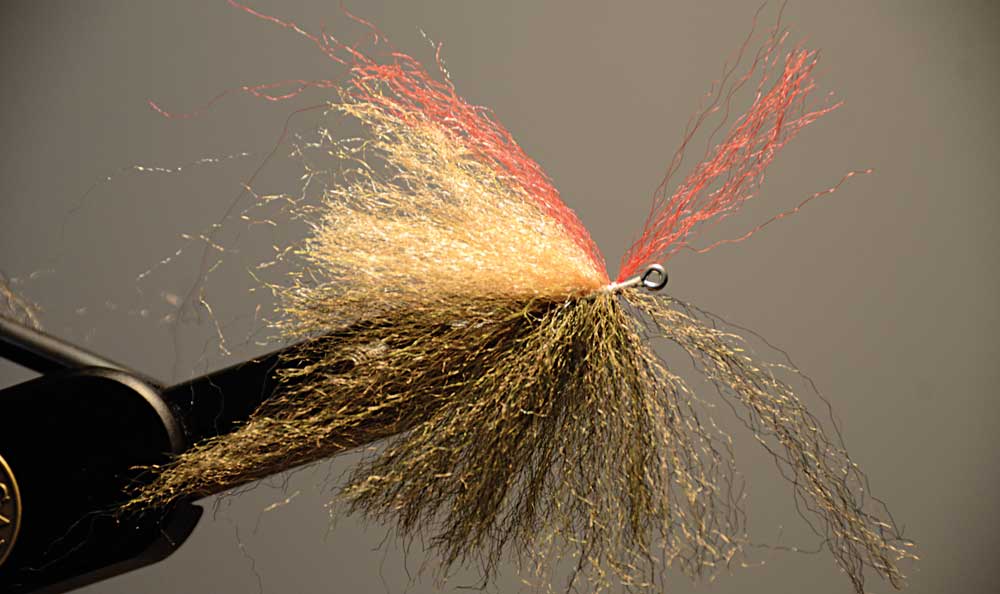
3) Continue high-tying the EP Fibers, and once you are slightly behind the eye, high-tie a small clump of red EP Fibers to resemble the gill of a baitfish.
4) Continue to add material with the same high-tying technique until there isn’t any more room for materials to be added. Add a small dam of thread just behind the eye and in front of the final clumps of EP Fibers. This will hold the materials back. Whip-finish the fly.
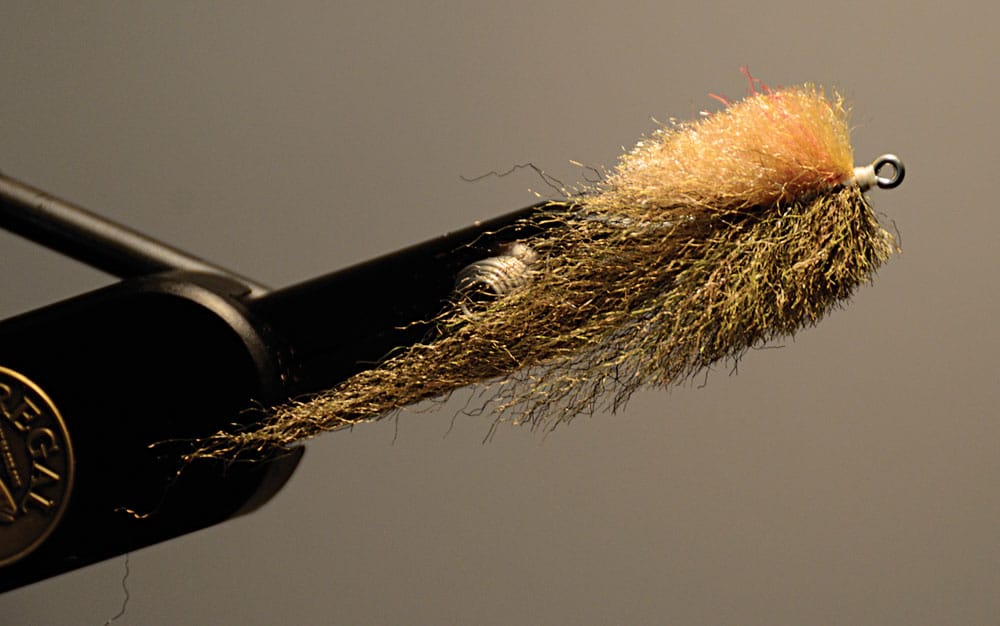
5) Carefully trim the fly to the desired shape. HINT: With EP Baitfish-style patterns, always trim parallel to the fly — never perpendicular.