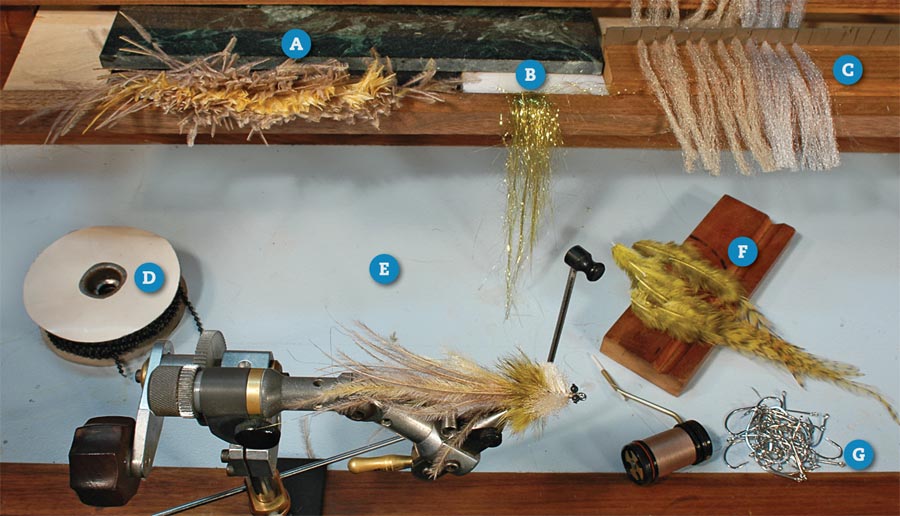
All of the materials necessary to tie SST-Poon flies production-style have been prepped and strategically arranged on a multilevel tying desk. A: Pre-trimmed ostrich-tail herl between strips of Velcro. B: Angel hair between Velcro.** C:** EP Fibers in slits cut in craft foam held by wood blocks. D: Plastic bead chain on a spool. E: Bench with several levels. F: Pre-trimmed hackles on a wood block. G: Pile of hooks within easy reach of the tier.
Tying the SST-Poon
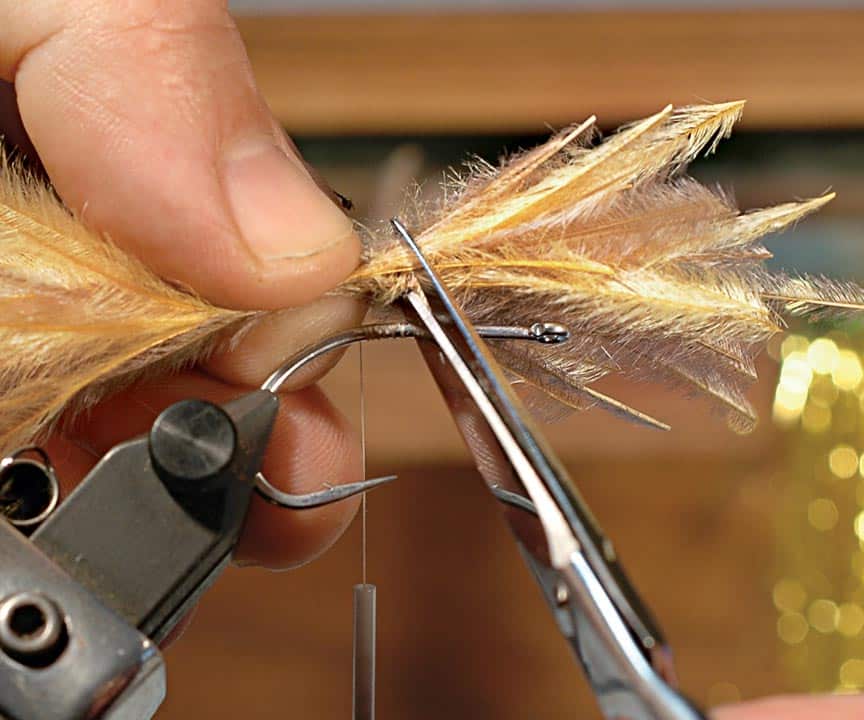
The following instructions for crafting an SST-Poon illustrate several tricks commonly used in production tying. [1] Tie in the ostrich-herl tail. Two points here: Notice the butt ends should be trimmed before you attach the tail to the hook. In addition to saving time, this also establishes the first landmark on the fly. The tail is pre-trimmed so the butt ends extend no farther than the hook point. Using this mark to tie in the collar, you know there will be enough room for the eyes and body material. After the herl is lashed down, cut a very sparse amount of angel hair and tie it in to blend with the tail.
Tying the SST-Poon
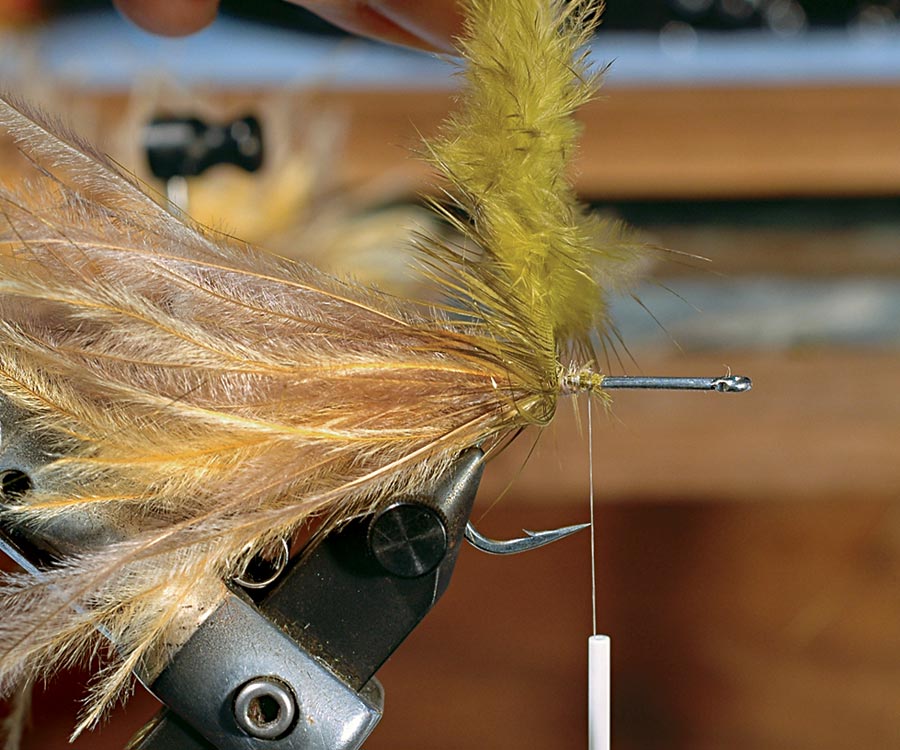
[2] To make the collar, use a pair of saddles tied in folded-hackle-style. Trim off almost all of the feather, leaving the marabou and a bit of the barbules.
Tying the SST-Poon
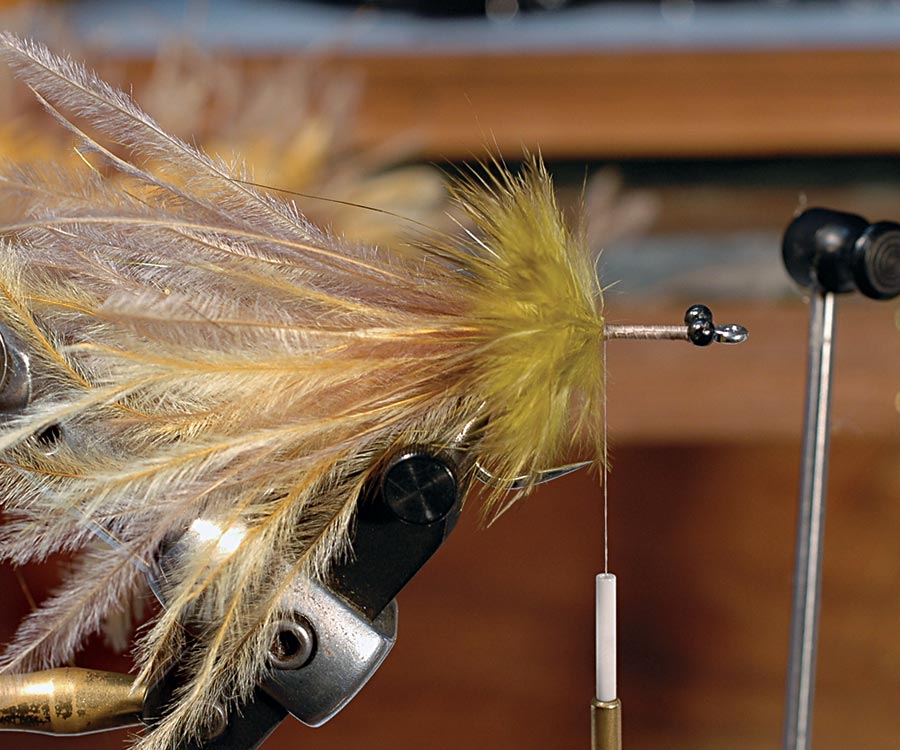
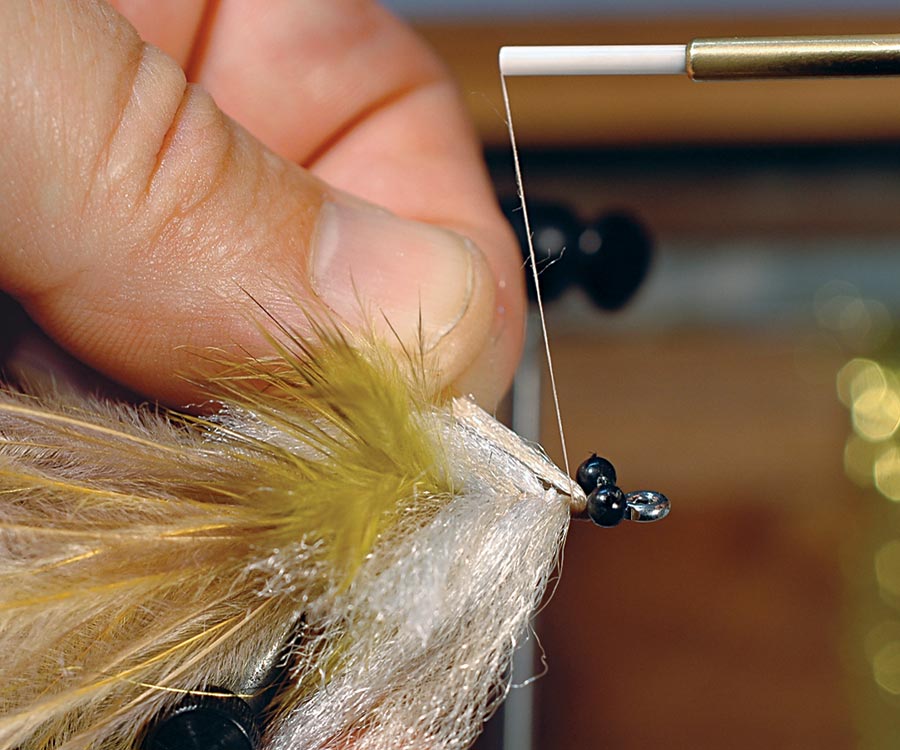
[3] Tie in what’s left of the tip ends, making four to five wraps with both feathers together, ending just at the hook point. Secure the butt ends, trim them neatly and overwrap them with thread. Establish the final landmark by working the thread up to the hook eye. Tie in the plastic eyes by making a figure eight on top of the hook. Bring the thread back to the collar.
Tying the SST-Poon
[4] Tie in the first bunch of EP Fibers as close to the collar as possible, attach it on the side of the hook near you with three to four wraps and pull the butt ends over to the other side of the hook, tying them in with a few wraps on top of the first ones. (The typical figure-eight technique is slow and messy.) Repeat with four more bunches of alternating colors. The last bunch should fit in just behind the bead-chain eyes. Trim the body by folding it above the hook and pinching it between your thumb and forefinger. Using your thumb as a template, trim off the excess length of fibers.