I have no problem saying that there are few, if any, truly original flies being created anymore. There haven’t been for years. Most new fly patterns are nothing more than tweaks of existing patterns or designs. The only real changes are usually in the materials used or the technique with which the fly is tied. But every now and then, someone does come up with something new and original. This is not one of those times. The fly you see here is a combination of two patterns that have been around for a long while.
A Reason for Thought
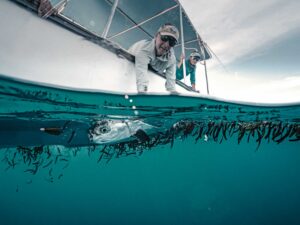
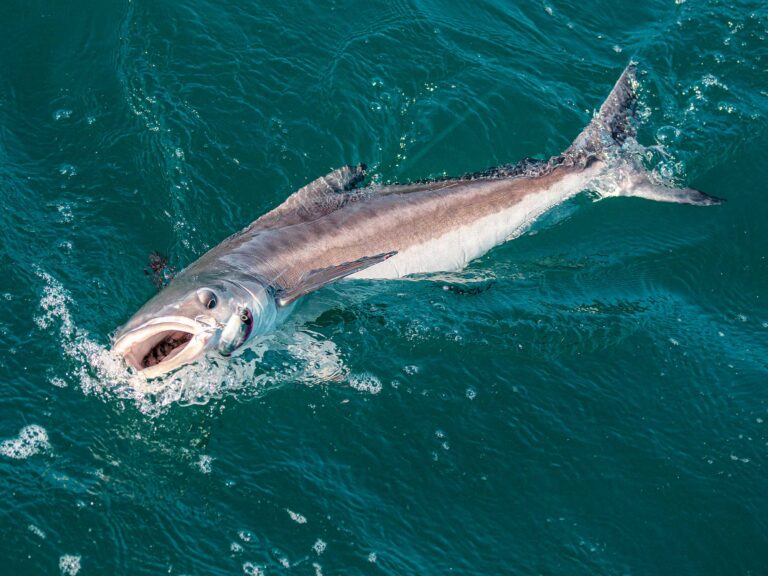
A few years back, a friend of mine was poling me down a shoreline somewhere deep in the Florida Everglades. We were looking for laid-up tarpon, and we spotted the tail of a fish just under the surface about five feet off of the bank about 30 feet away. My buddy skillfully stopped the boat and slowly backed us away from the fish to give me room to make a better presentation. It was clear that the fish’s head was lying on the bottom but also facing to the left. I made the cast and dropped a black-and-purple EP (Enrico Puglisi) Baitfish pattern a foot in front of and just beyond where I imagined the big bucket of a mouth was. I stripped once to remove the slack from my line and then paused to let the fly sink before I began my retrieve.
My next strip got the fish’s attention. Its tail kicked, and the fish disappeared. Even though we could not see the fish, it was obvious that it was below the fly, waiting for the right moment to inhale it. After two more strips, the fish became visible beneath the fly and continued to track it. While the fish followed, I noticed that even though I was matching the retrieve to the fish’s speed to keep the offering in its face, the fly continued to sink lower and lower until it was below the fish’s head and out of the zone in which a tarpon typically takes a fly. I tried stripping faster to raise the fly, but by then it was too late. After that fish and a few more similar incidents in which the fly sank too fast, I began brainstorming how to slow the sink rate of EP Baitfish-type patterns.
Slow Sinking Solution
The year before last, I was getting ready to head out for some big trout action with a friend. I knew long blind-casts would be in order due to the heavy cloud cover. I peeked in all my fly boxes but didn’t see anything I liked for the conditions and quarry, so it was off to the bench. As I rummaged through drawers full of materials, I came across an old cigar box that had a handful of flies in it. I opened it up, and sitting on top was an old Dave Whitlock pattern that I had used for bass fishing. I didn’t know what the name of this pattern was, but I did remember that it had been one of my favorite flies to throw for largemouths. I also remembered having had some luck with it on snook and baby tarpon way back when.
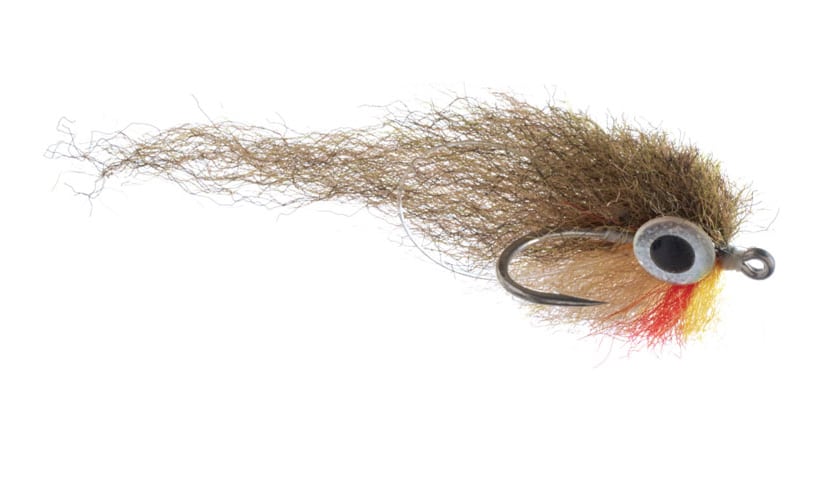
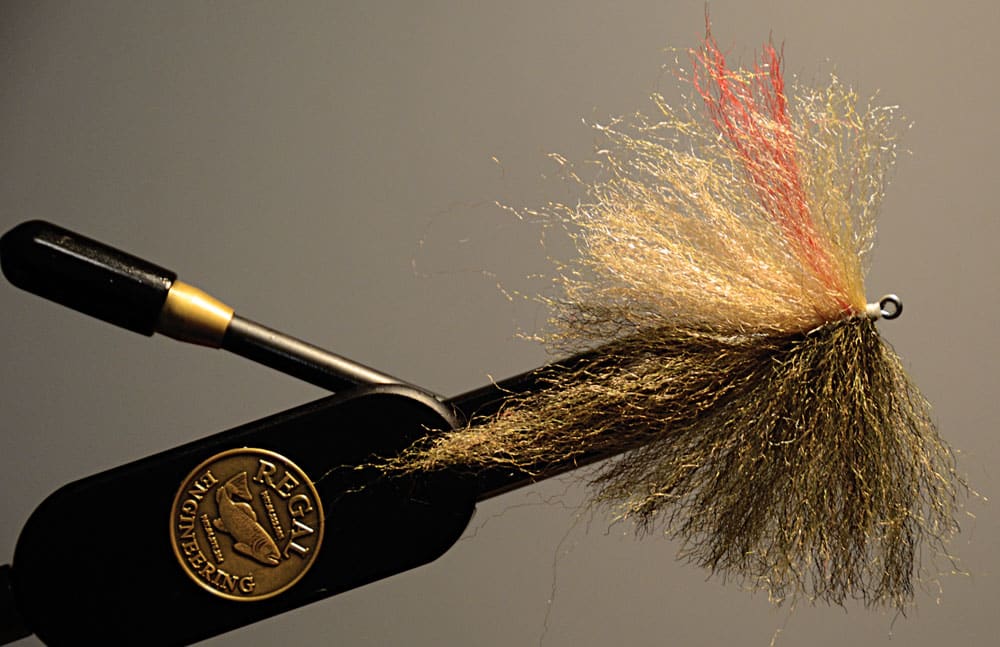
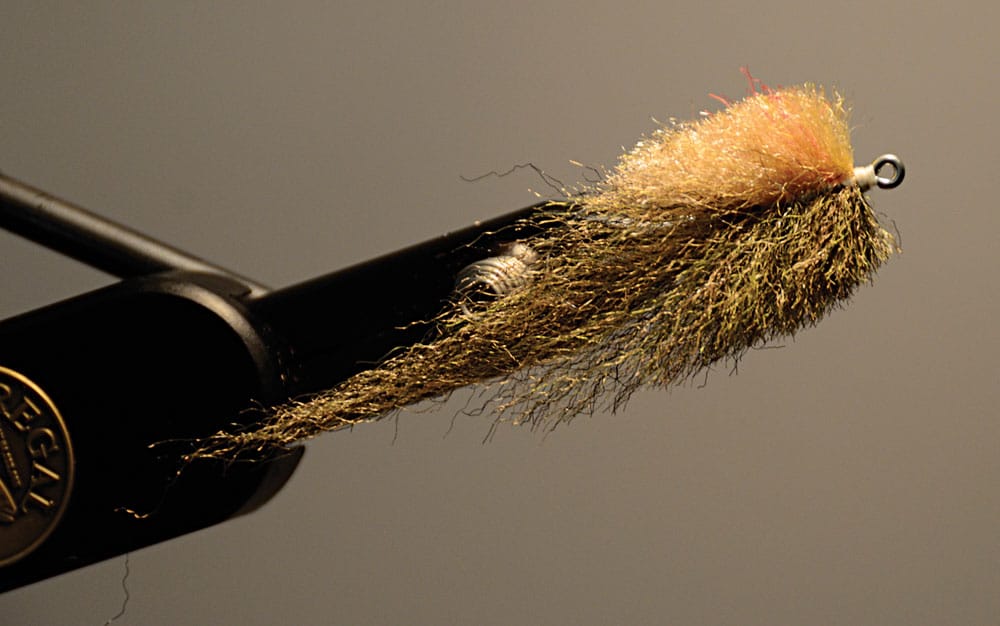
Even now, I do not have the foggiest idea what this thing was called, but it was a deer-hair pattern that was stacked and trimmed to look like an injured baitfish either floating or swimming on its side. In fact, because it could be seen only from the bottom, it had only one eye. I sat there staring at the fly and realized that the on-the-side style in which the fly was tied could be duplicated with EP Fibers. With that, I began to fabricate an idea. Within minutes, I was digging out all the EP Fibers I had and tying baitfish patterns on their side.
My thinking was that the fish would notice the larger profile from below. I really felt like I was on to something, and I couldn’t wait to get out on the water and try out these patterns. Needless to say, my hunch paid off; however, the tactics I typically used to fish the channel edges for trout had to be altered. You see, this particular EP fly sank slower now that it had a little more resistance on the way down (good for my tarpon quandary), so we had to throw sink-tip lines where we normally would have thrown floating lines. Eureka!
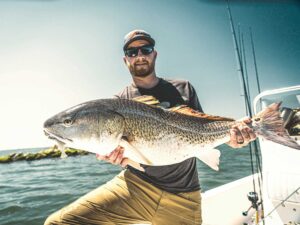
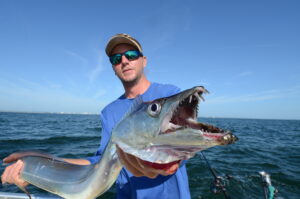
Since then, I have tied a ridiculous number of these flies in all sizes and color combinations, and I cannot think of a single saltwater fish that I regularly pursue that has not fallen victim to it. Up-feeders such as tarpon and snook particularly like this fly; however, I have caught numerous redfish, trout and jacks on this pattern, as well as ling (cobia) and some sizable dorado offshore. The EP Otis has become one of my favorite blind-casting patterns but has also served me just as well in sight-casting situations.
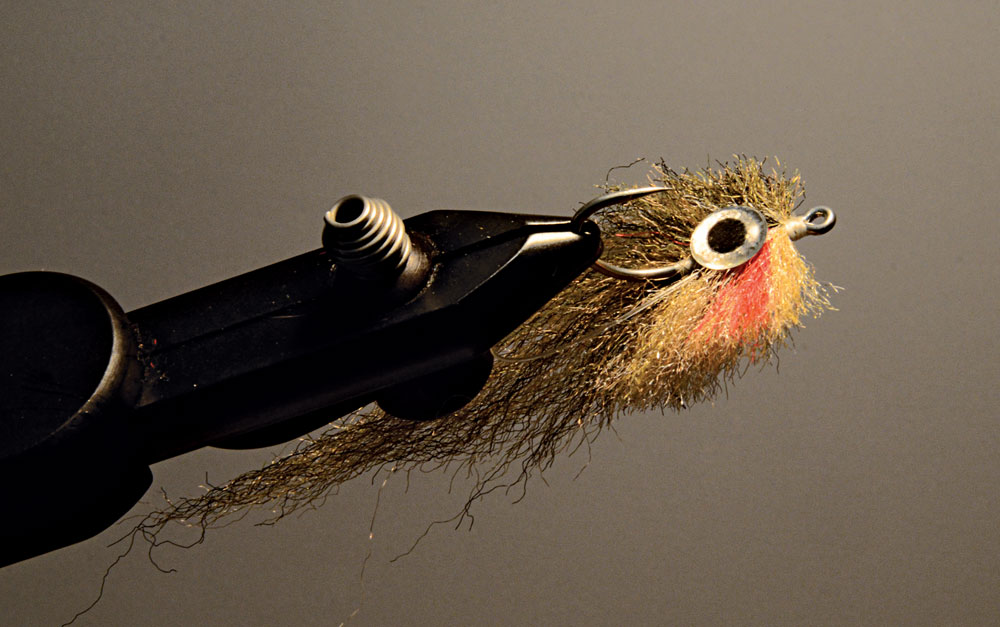
MATERIALS
HOOK: Style and size to match the baitfish you are imitating
THREAD: Kevlar so you can tie the material in tight
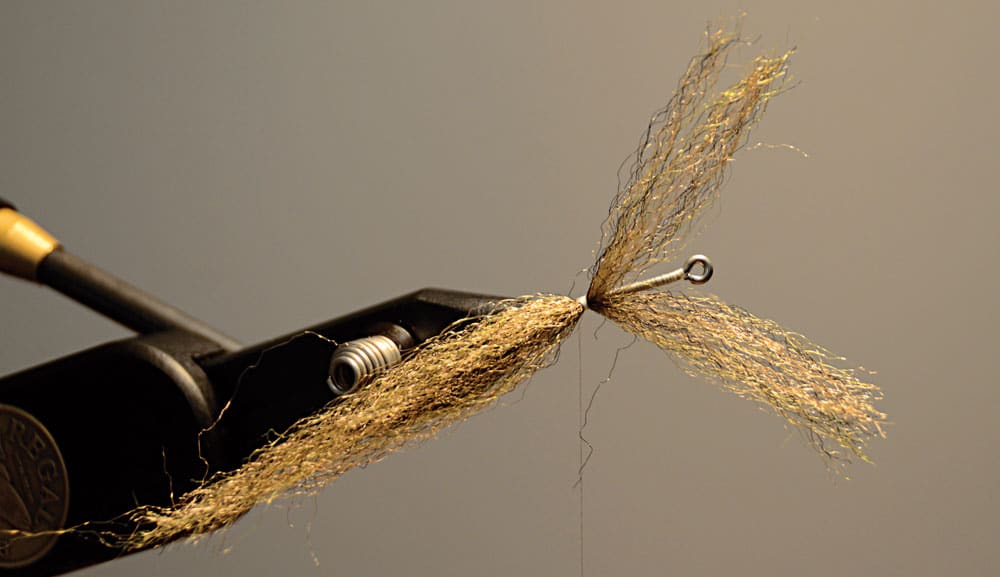
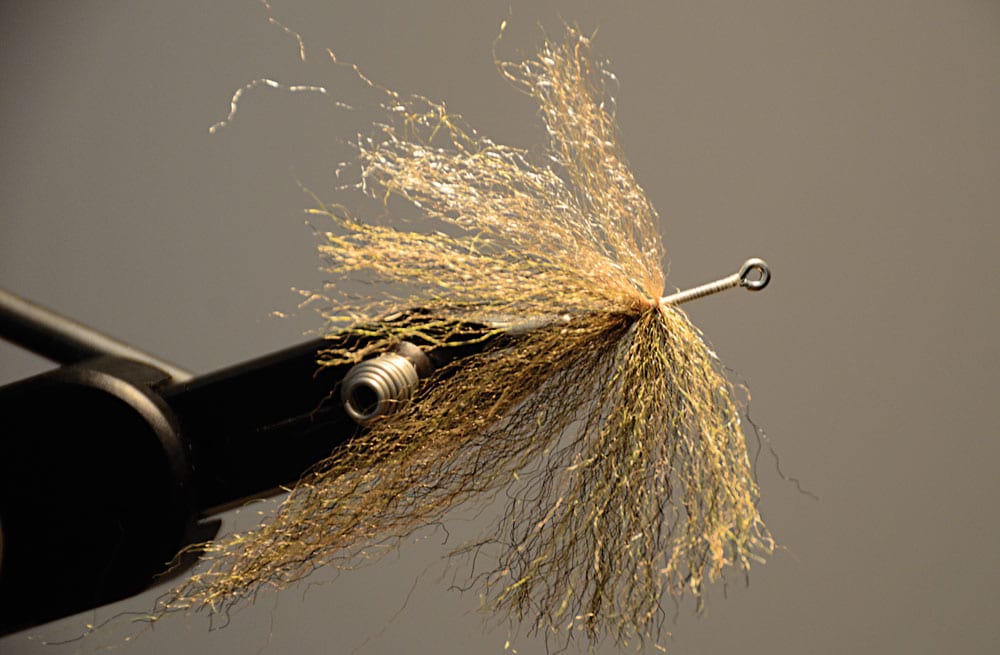
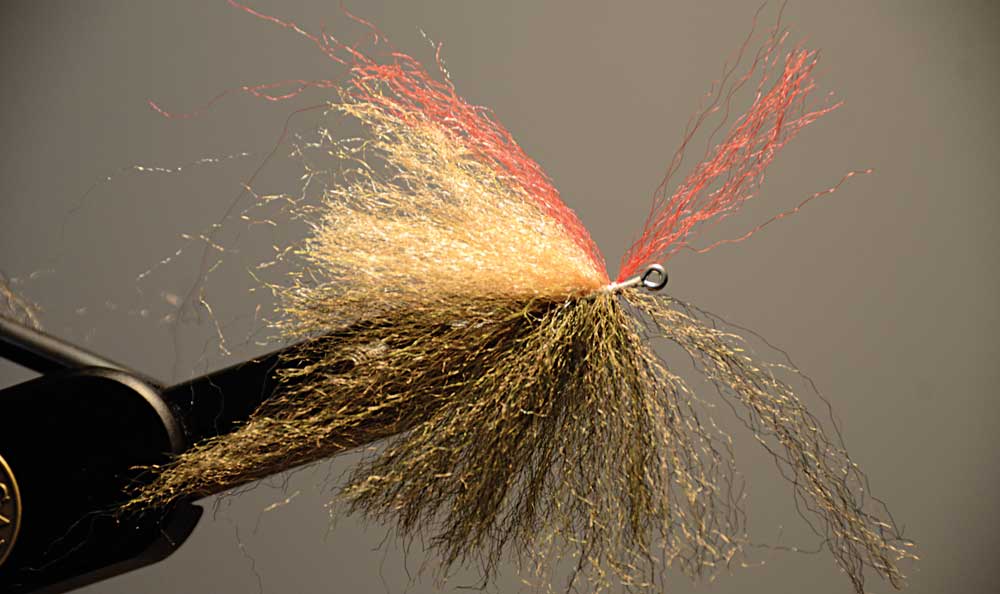
BODY: EP Fibers in preferred colors
ADHESIVE: Epoxy
EYES: 3-D holographic