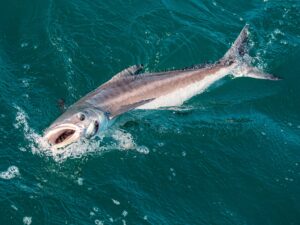
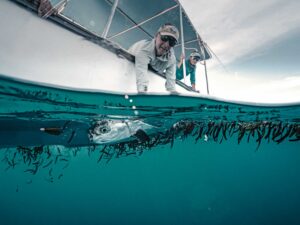
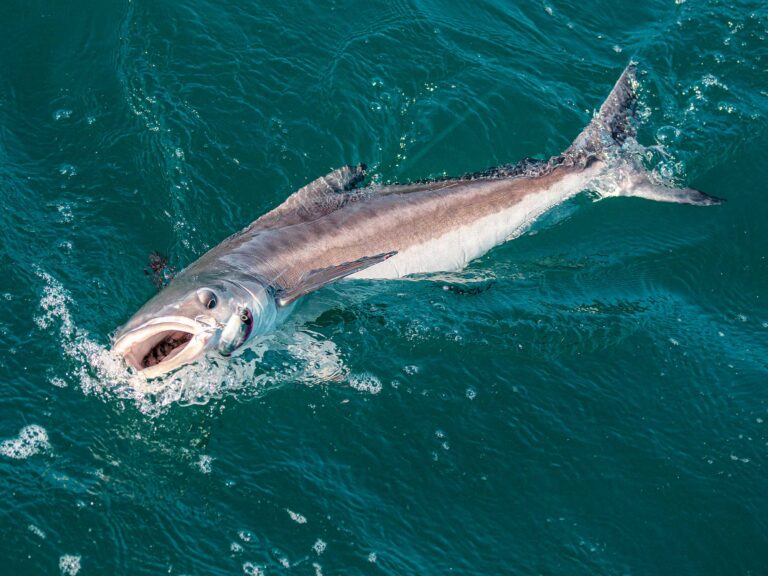
They say that necessity is the mother of invention. In my case I had the need, but the invention part eluded me. I was fishing a particularly shallow rocky flat on Eleuthera in the Bahamas where hordes of bonefish of all sizes rush in as the tide rises.
The only problem, one that I have experienced numerous times, was that the bottom ate flies faster than I could fill my fly box. Back home, I contemplated what I could do to improve my chances on that flat on my next trip. I wanted a snagless shrimp fly, and almost every one I’d seen or attempted to tie featured a hook-point-down configuration. I needed a fly that could withstand being dragged over rocky bottoms, remain relatively weedless and, most important, ride hook point up.
Once again I began the frustrating process of trial and error. Each creation had a shrimpy-looking appearance but would either roll over or flip completely when I fished it. I reviewed numerous patterns that ride hook point up and kept coming across bend-back-style flies. For the most part, bend-backs maintain their upright posture through keel weighting and the buoyancy of the wing material. I gave it a try, and two or three prototypes later I came up with an epoxied fly that swam the way I wanted. As an inadvertent bonus, the bend-back hook shape enhanced the fly’s profile by creating a realistic “hump” in the shrimp’s abdomen, and the Ultimate Shrimp was born. I named it in homage to Bob Popovics’ wonderful epoxy shrimp pattern, the Ultra Shrimp.
My original fly had an epoxy thorax with clear-vinyl D-rib wrapped along the hook shank to suggest the segmentation of a shrimp’s abdomen. I found the vinyl ribbing was too uniform and made the fly appear unbalanced. On a whim, I tied a fly with epoxy and added five or six loose wraps of mono thread over it while it was partially cured. Not only was the effect impressive, but it was also much easier. No knots or special techniques are needed, because the mono indents the soft epoxy, which quickly hardens in place.
I created the Ultimate Shrimp to fool the finicky bonefish of Eleuthera, so I tie it on #4 to #8 hooks. If tied in larger sizes, it would work on a variety of other shrimp-eating predators, including stripers, redfish and speckled trout. In fact, the fly also resembles a juvenile crayfish and would probably be effective on freshwater trout and bass, too.
| Materials |
| HOOK: #4 to #8 Mustad 34007 THREAD: 6/0 Tan UNI-Thread and 4m fine clear UNI-Mono Mouth Parts: Tan craft fur EYES: Burnt monofilament blackened with permanent marker ANTENNAE: Two long single strands of tan mallard flank feathers LEGS: Tan mallard flank feathers TAIL FAN: 1¼4-inch clear Scudback material cut to shape GLUE: Super Glue and Devcon five-minute epoxy COLOR: Brown permanent marker |
Tying Instructions:
Step 1: First, create a small bend midway along the hook shank. Tie in a short, sparse bunch of tan craft fur almost halfway along the bend. Next, tie in a pair of small burnt mono eyes on the underside of the shank at the start of the bend. Tie in the two strands of tan mallard flank on top of the mono eyes to simulate antennae. Secure with a drop of Super Glue.
Step 2: Flip the fly over in the vise, and tie in a very sparse bunch of tan mallard flank hackle under the mono eyes. Wrap the thread evenly back to the hook eye, taking care to cover the shank entirely. Cut a small 1¼4-inch triangular tail fan from the Scudback material, and tie it in so it covers the hook’s eye. Roughly color the trailing edge of the tail fan and thorax region with brown permanent marker. Whip-finish and glue to secure.
Step 3: Flip the fly over in the vise and carefully apply a generous amount of epoxy over the mono eyes; rotate the vise to achieve the shape of the shrimp thorax. Be sure that a good belly of epoxy droops toward the underside of the fly. Allow the epoxy to cure completely.
Step 4: Prepare another small amount of epoxy, and apply it to the hook shank directly against the thorax, tapering toward the hook eye. Rotate the fly in the vise continually while making small adjustments in the spread of epoxy to keep the shape uniform. Just before the epoxy loses its viscosity, allow a certain amount to droop in the center of the shank to make the shrimp’s humped back.
Step 5: Once all viscosity is gone from the abdomen epoxy but before it hardens completely, whip in the UNI-Mono at the hook eye and begin a series of five or six loose wraps toward the thorax region, spacing each wrap farther apart. At the thorax, a simple overwrap or two is all that’s needed to secure the mono. Trim the mono thread, and let the epoxy set up completely.