Gallery: Step-by-step tying instructions
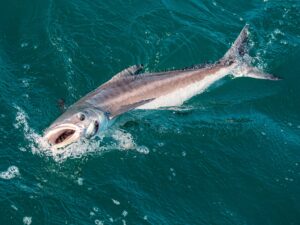
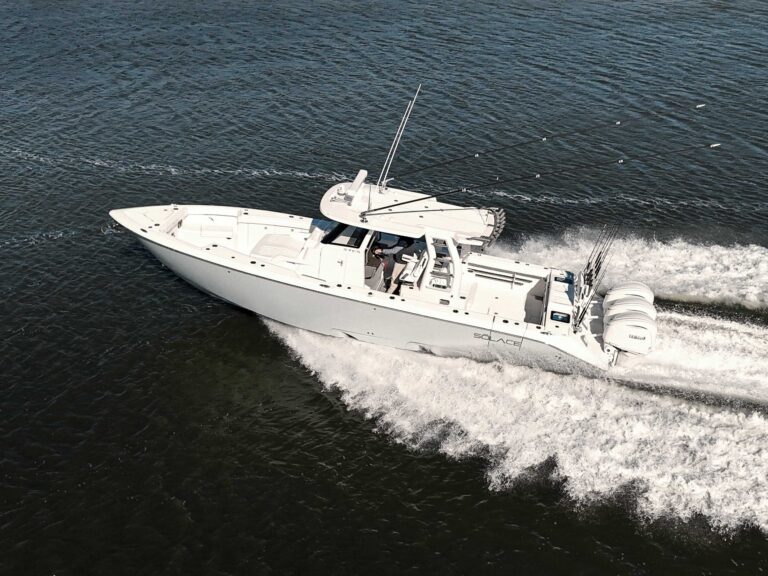
We could see at least two tarpon rolling lazily as I poled the Maverick toward the mouth of a small creek. It was late June, and we were looking for fish in the Ten Thousand Islands area of southwest Florida. My angler had on a standard tarpon fly tied in the traditional style. As he made his first cast and started the retrieve, I fully anticipated a take. Nothing. Maybe the fish didn’t see it, I thought as he cast again to another roll. Still nothing.
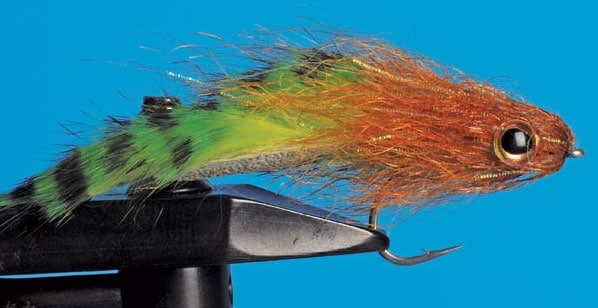
I decided to switch flies to a new pumpkin-and-chartreuse pattern I had been using with good success on snook and reds. When my angler saw it and asked what I called it, I looked at it a second, thought about the distinctive bars on the rabbit tail and said, “Jail Bait!” He laughed.
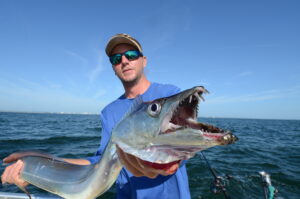
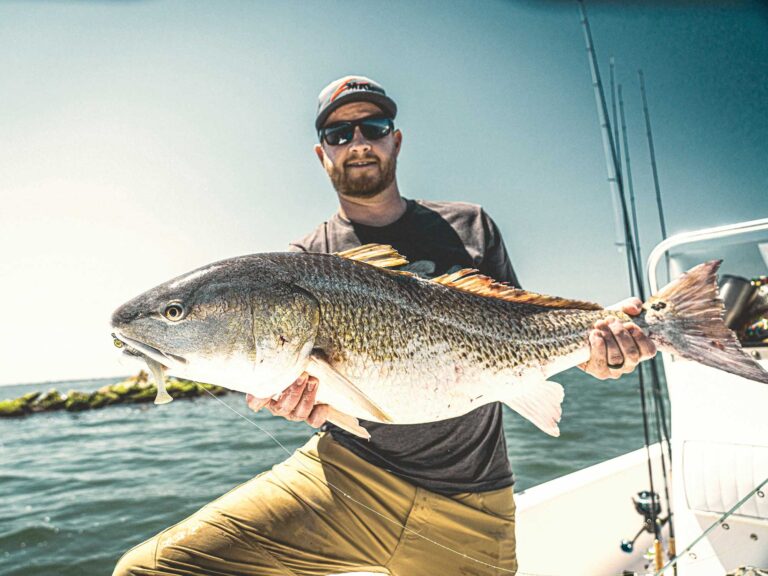
He sent off another cast to a fish, and the fly landed right on top of the roll. Three slow strips later, a 40-pounder ate it and cleared the water in a spectacular jump. The ensuing fight shut the creek down, so we headed further down the bay, stopping at a shoreline with a “layup” bank that held snook and reds. Before long, I spotted a nice linesider suspended and facing into the current. The fly passed about two feet ahead of the fish and was immediately walloped.
When I designed this pattern, I was looking for a versatile fly that had great action and subtle flash, pushed water and was easy to tie. I also wanted a pattern that was easy to manipulate and to adjust the sink rate of when tying. The Jail Bait can be tied without lead wire to create a semi-floating pattern, with a little lead to create a suspender or with a bunch of wire for deepwater applications.
This fly offers three key features that trigger strikes: a head that maintains shape and pushes water, eyes that are realistic and a rabbit tail that breathes in the water.
The head is tied with either Steve Farrar’s Flash Blend or Flash ‘N Slinky. Both work. I use Clear Cure Goo to set the shape of the head and affix the eyes. This new product has essentially replaced epoxy and offers tiers the ability to immediately set the shape of the head with an ultraviolet light. Unlike epoxy, Clear Cure Goo does not yellow, and it comes in a standard or flexible formula.
The Pelagic Eyes are another key feature. They are very realistic, mimic the shape of a fish’s eye and come in a variety of color combinations.
This pattern has a lot of possibility; you can use different materials for the head and tail, depending on what you are imitating. I’ve tied it in a variety of color combinations, all of which have worked great. Blue-barred black, tan-barred orange and black-barred white are all great colors for your arsenal. Tie up a few – I think you’ll find them productive additions to your box.
Materials
Hook: Gamakatsu SC15, No. 1 to 3/0
Thread: 3/0
Eyes: Asymmetric Mirage colorPelagic Eyes
Head: Flash ‘N Slinky or Steve Farrar’s Flash Blend
Wing: Barred magnum rabbit tail
Weight: Lead wire
Adhesive: Head cement and Clear Cure Goo
Gallery: Step-by-step tying instructions