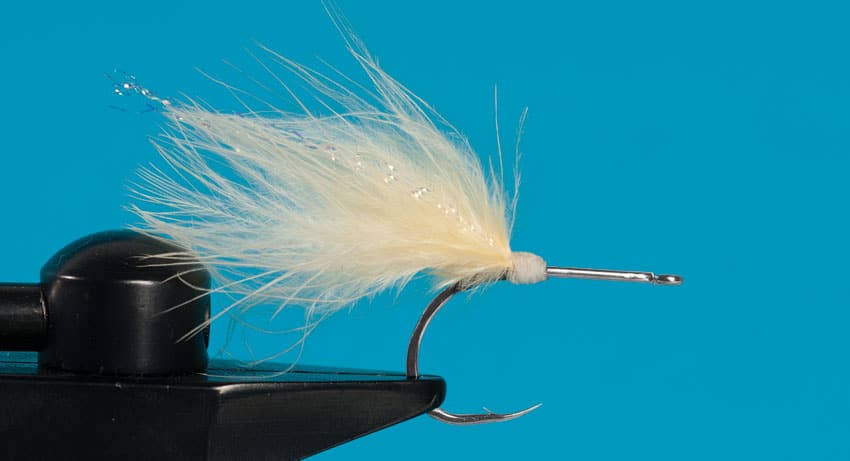
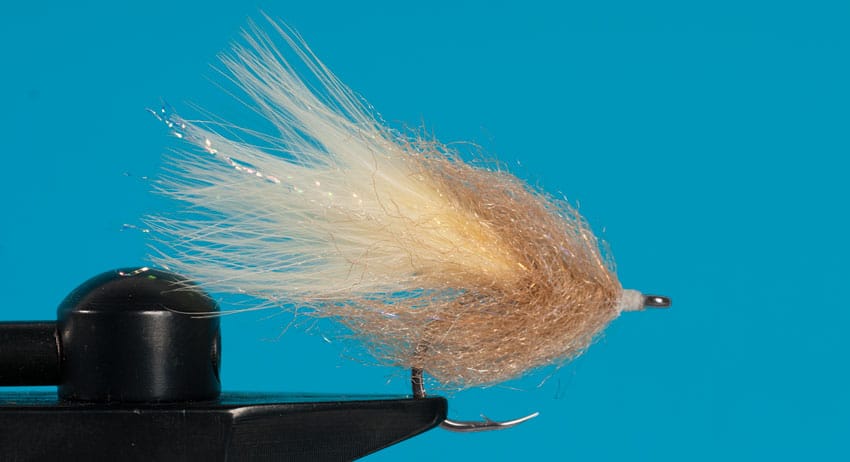
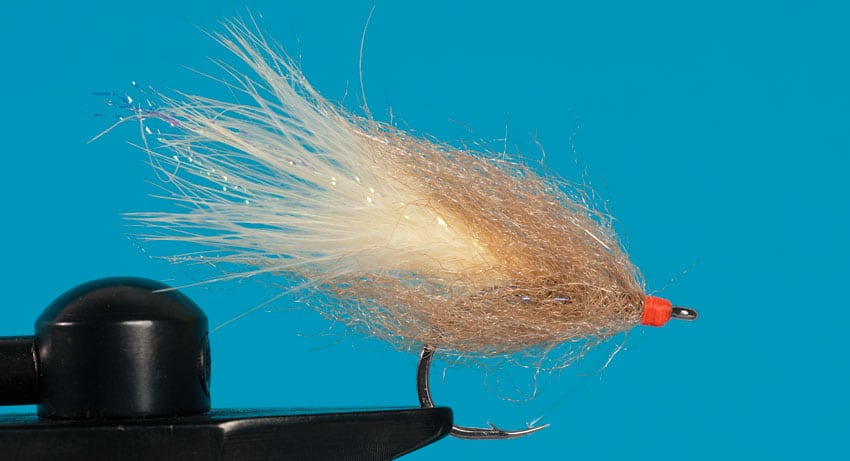
STEP 5
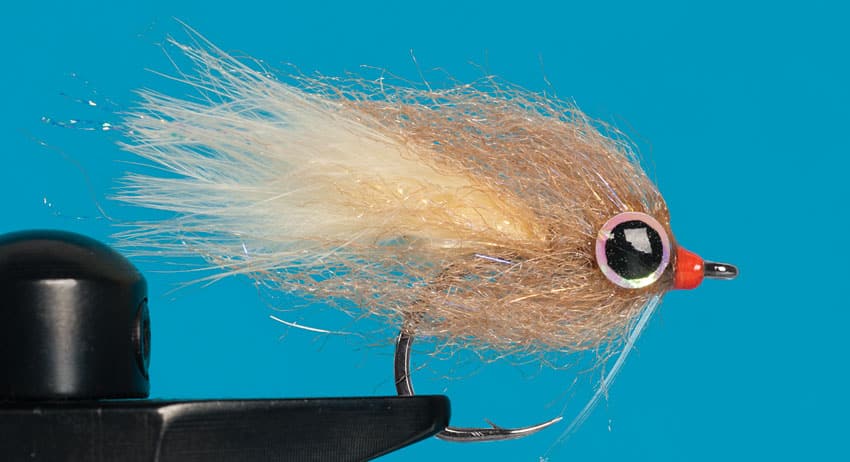
Materials
HOOK: Owner 5180-111, 1/0
THREAD: White and fluorescent-orange flat waxed nylon
BODY: Tan EP streamer brush
TAIL: Cream marabou
FLASH: Pearl Krystal flash
EYES: Silver flat stick-on, ¹/8-inch
GUARD: 40-pound mono
GLUE: Clear five-minute epoxy
Finding the perfect fly for a specific situation often turns into a psychological battle. You can always go with proven patterns, but sometimes you need the attributes of several flies combined into one.
Last winter I fished plenty of unfamiliar waters and wasn’t doing so hot when it came to the catching aspect of our sport. I could see signs of fish, so I knew I wasn’t in a dead zone. To crack the code, I spent many hours at the vise and on the water. One of the first pieces of the puzzle I discovered was that flies needed to be small while maintaining a wide baitfish profile. After finding that out, I tied up a few I thought might work. I began catching fish, but still with limited success, so my quest for the perfect fly continued.
**
Choosing Ingredients**
One night I sat down at the vise and did something I’m sure many of you have done a time or two. I pulled out all my material and began to picture different combinations I could mold into a productive fly. The combo I felt most confident in had a marabou tail and an EP streamer-brush body.
If I have learned one thing about catching fish during the winter months, it’s that the fly needs to move slowly. The problem with working flies this way, though, is that they provide less action than they would if they were stripped at a faster pace. This was what led me to choose marabou for the tail. With marabou, I could use a slow strip, and the fly would still pulsate and wiggle.
The streamer brush was an easy choice. This durable material creates a fantastic profile and also provides a subtle amount of flash, which I feel fish key in on.
Tweaking and Perfecting
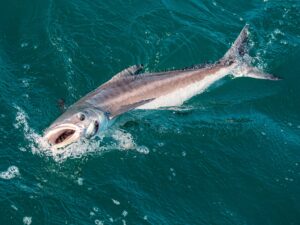
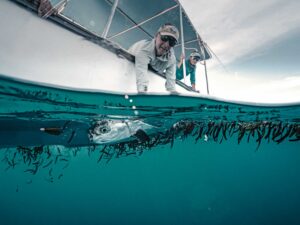
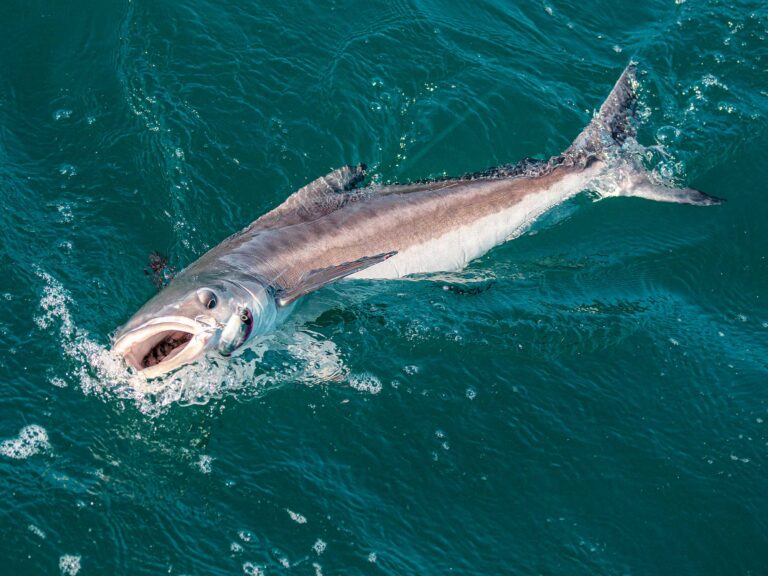
After a long night of tinkering at the vise, I ended up with only a couple of prototypes in my box for the next day. I would like to say I was up at the crack of dawn, fly rod in hand, ready to go, but I wasn’t. I am not a morning person, and besides, fishing in the winter tends to be best during midday hours. Once the sun was up and had time to warm the water several degrees, I made my way down to my testing grounds. I was hopeful that I had indeed cracked the code for this piece of water. With a few casts, the Backwoods Baitfish proved worthy. At the end of the day, I had several snook and even a couple of small tarpon to brag to my buddies about — all on the Backwoods Baitfish.
After a day like that with my original design, I was encouraged to tweak and perfect the pattern. I added a heavy-duty weed guard so I could crawl the fly through thick cover and included a mono loop to prevent the tail from fouling. After these slight modifications, I definitely had a first-rate fly for a specific place and scenario.
Since its inaugural trip, it has proven itself time after time and in many different situations, so now I always bring a few.
Next time you find yourself in a quandary about what baitfish pattern to use, tie up a couple of Backwoods Baitfish and see if they work as well for you as they do for me. I’m willing to bet you’ll be happy with the results.
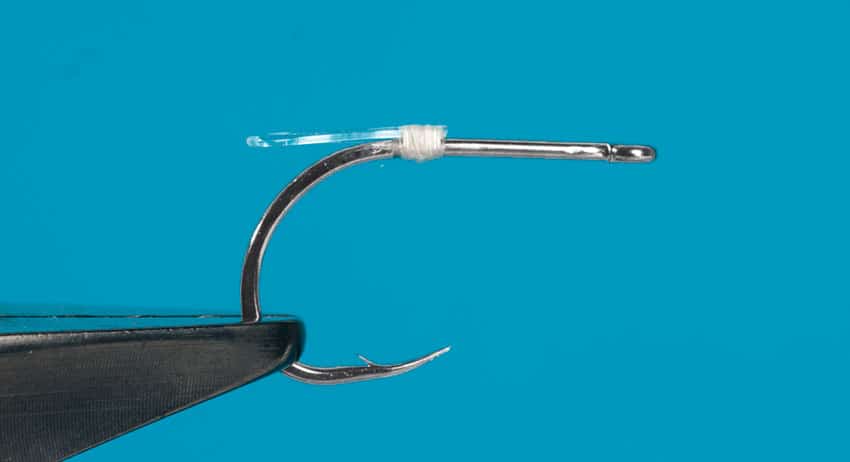
STEP 1
STEP 2
STEP 3
STEP 4