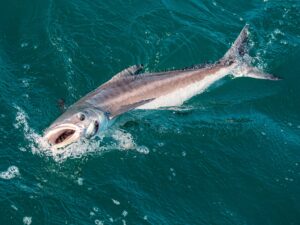
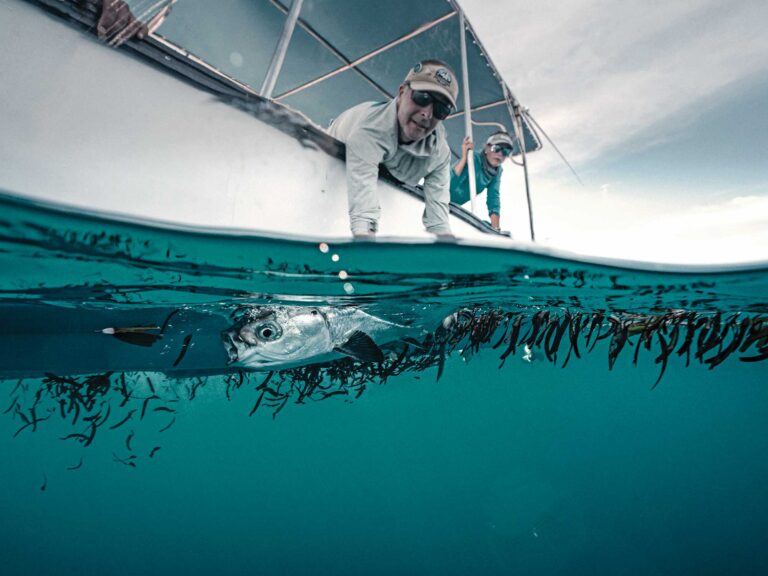
Anyone who fly-fishes the cooler waters of the Northeast knows the benefits of the prolific sand eel population. Sand eels are a natural striped bass magnet and can be readily imitated by a variety of simple fly patterns that cast easily. Cape Cod and the surrounding areas are blessed with an abundance of the small snakelike fish for the entire striper season. In fact, most fly-fishers can’t wait to begin stalking the crystal-clear flats in the spring, as they cast to hordes of migrating stripers. The action remains consistent from early spring through late fall.
This Dowel Stick Sand Eel is one of many eel patterns I have created to take advantage of these baits. This particular one is patterned after the Sand Eel Jiggy shown on the Atlantic Saltwater Flyrodders Web site, www.aswf.org. It differs in that instead of tying the pattern over a tungsten cone or cone/bead combination, you tie it over a cone of wood cut from the tip of a dowel stick. Tying over the wood causes the fly to swim without the jigging motion the tungsten cone produces. All you need to do is sharpen a dowel stick (3¼16 or 1¼4 inch) in a pencil sharpener and then cut off the tip using a penknife. A range of sizes can be cut to suit the size and profile of the sand eel you want to imitate. I’ve tied them from 2 inches long on a #8 hook up to 8 inches on a 3/0 hook. I prefer long-shank hooks, but they are not necessary. You can even tie the pattern in a bend-back style. If you do bend the shank, make sure you leave enough of it unbent by the eye to accommodate the length of the wood cone.
One other note: Many flats veterans talk of “standing” sand eels – ones that appear to be standing on their heads. By using a jig hook and adding brass hourglass eyes at the 60-degree bend of the hook, you can easily modify this pattern to create a fly that stands vertically when it drops to the bottom. Add a bent length of stiff mono (20-pound will do) over the top of the fly between the tip of the dowel and the brass eyes, perpendicular to the hook shank to form a bipod. Add a touch of head cement for durability. The fly will rest on its nose because of the weight, and the added mono “legs” will keep the fly upright. The fly will inch forward in a standing position on a slow strip, but during a standard retrieve it will swim normally and then drop nose down when stopped.
Tying Instructions
**
||
|—|
| Materials|
| Body: White and olive Fishair Flash: Silver angel hair Thread: Extra-fine mono thread Hook: #4 Tiemco 911s Eyes: Size 11¼2 stick-on, silver Head: Sharpened 3¼16-inch dowel stick Glue: Five-minute epoxy |
Step 1:** First, sharpen the dowel stick and cut the tip off with a penknife. Starting at the eye of the hook, wrap toward the bend to provide a base so the wood doesn’t slip. Hold the wood and wrap over it leaving a small space by the eye as shown.
**
Step 2:** Tie in a sparse amount of white Fishair starting at the tip of the wood and wrap back over the material to the end of the cone and back to the tip. Hold the Fishair with your free hand so the material covers the lower side of the cone. To ensure the fly rides hook up and to minimize fouling, you should not tie any material on the bottom. Rotate the vise and repeat on the opposite side. Again, note that no material is tied on the bottom.
**
Step 3:** Tie in a sparse amount of silver Angel Hair just above the Fishair and wrap back to the end of the cone and forward. The Angel Hair should be slightly longer than the Fishair. Rotate the vise and repeat on the other side.
**
Step 4:** Tie in a length of olive Fishair on top of the cone starting at the eye and wrap back to the end of the cone. The olive Fishair should be longer than the Angel Hair. Wrap forward to the eye and back again to the end of the cone. Leave the thread at this position.
**
Step 5:** Affix eyes to each side, then wrap forward over the eyes to the hook eye and whip-finish. The fine mono will hold the eyes in place for the epoxy application but will not be visible afterward. Apply a thin coat of epoxy. Tip: Hold the epoxy under a light to warm it slightly, and then apply it with a bodkin. Rotate continuously until it hardens.