At S.S. Flies, we tie flies all day every day, hundreds a week, thousands a year. We go through mounds of hooks, miles of thread and pounds of feathers. Many tiers enjoy a more contemplative approach, tying one or two of a pattern and then switching to another, but there are times when recreational tiers need to get down to business. If tarpon are gobbling down tan SST-Poons, a variation of the Sellers’ Striper Teaser, you might need 10 or 12 one day and more the next. Some tiers just love to fill a fly box with rows of their favorite flies before the season starts, and this can mean a few dozen or more of each pattern. This level of recreational tying is less daunting with a few production techniques.
Mise en Place
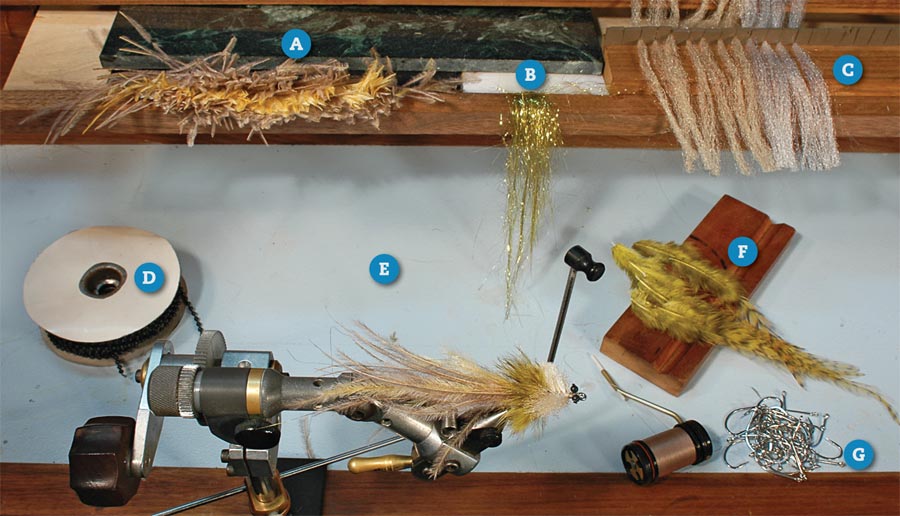
To tie flies fast, you have to know where your hands are going next. For example, when I’m tying SST-Poon flies (see instructions in gallery at top of page), I reach for the angel hair as I’m finishing the wraps on the ostrich-herl tail, and I grab the bead-chain eyes as I’m getting the thread in place to lash them onto the hook. For this to be possible, the materials must be in their place; chefs refer to this as mise en place. Not only is it important to have everything in place, but the materials must be easy to grab. Ostrich herl is one material that can be tricky. It’s cumbersome to pick up a feather and trim off the herl, mix it with another color and keep it all organized. Instead, we trim the herl from the stem over a strip of Velcro. We then line up the tips as the herl falls. This also allows for the blending of a couple of colors together. In the picture below, I put down a layer of tan and then a layer of orange and another layer of tan, sandwiching all the herl between Velcro strips. Set up like this, a bundle of herl appropriate for a nice full tail can be pulled out without messing up the whole pile.
Materials such as EP Fibers can be a mess to pull out of the package one bunch at a time. To avoid this, we remove the whole bunch from the package, place all the fibers between Velcro and use them from there. Often, as with the SST-Poon, we want specific-size bunches to form the body. It’s reasonable to pull these bunches one at a time out of the Velcro sandwich, but we take it a step further by staging individual bunches in slits cut in craft foam held between two pieces of wood. This way we can grab exactly one neat presized bunch at a time.
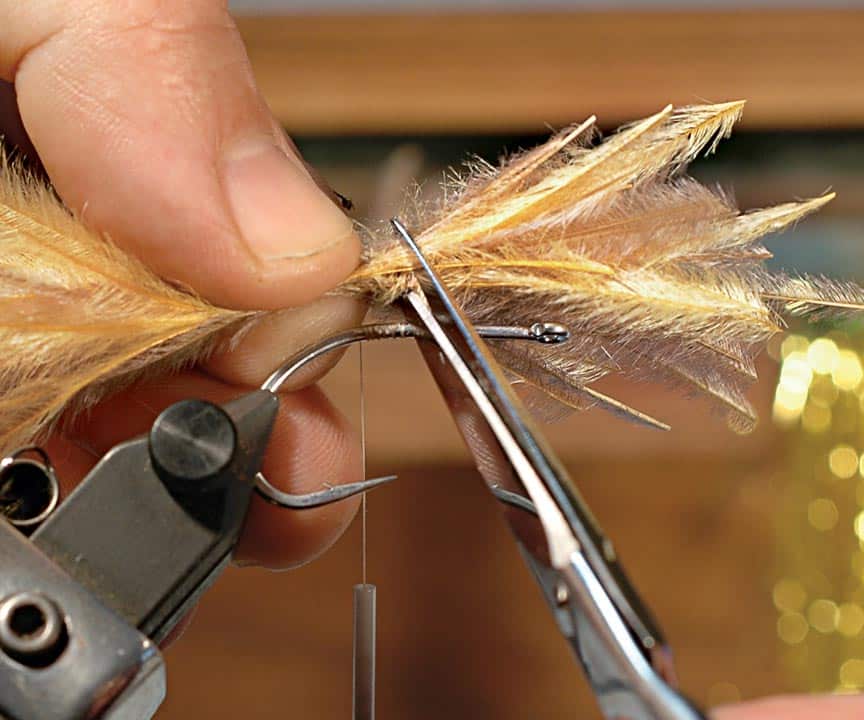
Some might not think there’s much to be done with saddle hackles to quicken things up, but we pull the appropriate feathers off the skin in a bunch and arrange them in place, oriented so we don’t have to turn them around a couple of times in our fingers. We pick them up, arrange the pair, clip them to length and tie them in without fussing. We also put materials such as feathers on a wooden block so they are easier to grab.
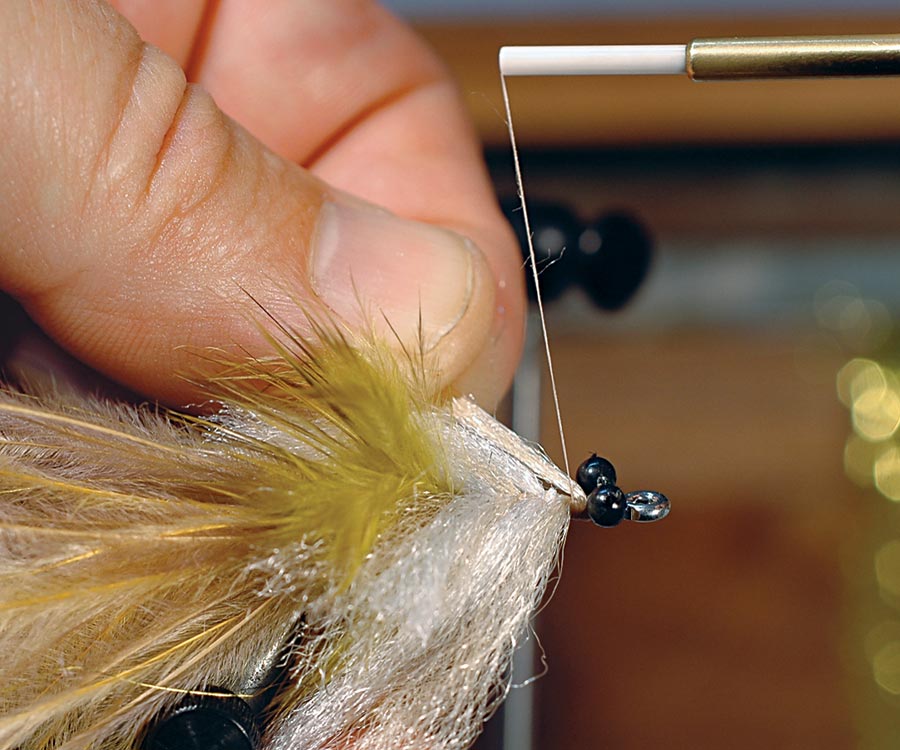
On the SST-Poon fly, we use plastic bead chain that has a string core for the eyes. This trims easily with scissors, so we have the string attached to the roll, with the end hanging. We simply put the bead chain in place with a couple of wraps, trim the pair from the string and then finish tying them in. With metal bead chain, it is more efficient to clip pairs of the chain into a container. Our tying bench is also an important tool for tying efficiently. Notice there are a couple of levels; the vise is clamped onto the bench at about keyboard height. Some materials, such as hooks, are staged at this level, often on a small block of wood. The bench has a pullout shelf at normal desk height, which gives us easy access to materials.
For production tying, always remember the phrase, “a place for everything, and everything in its place.”
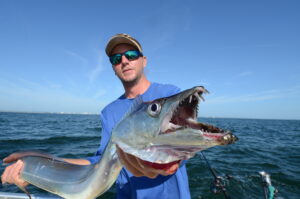
Tying the SST-Poon
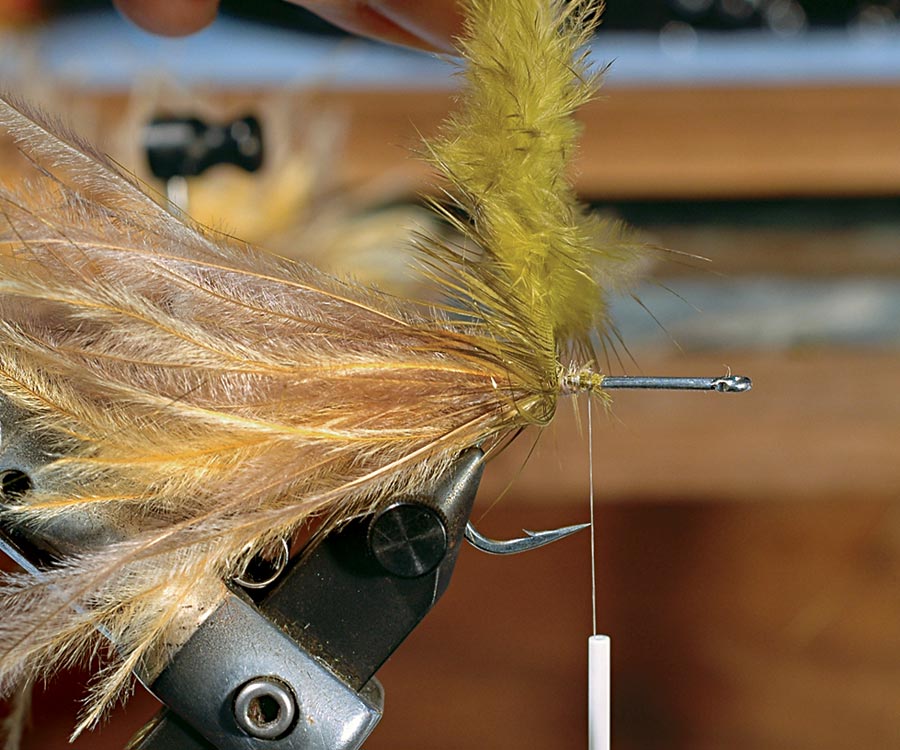
Tying the SST-Poon
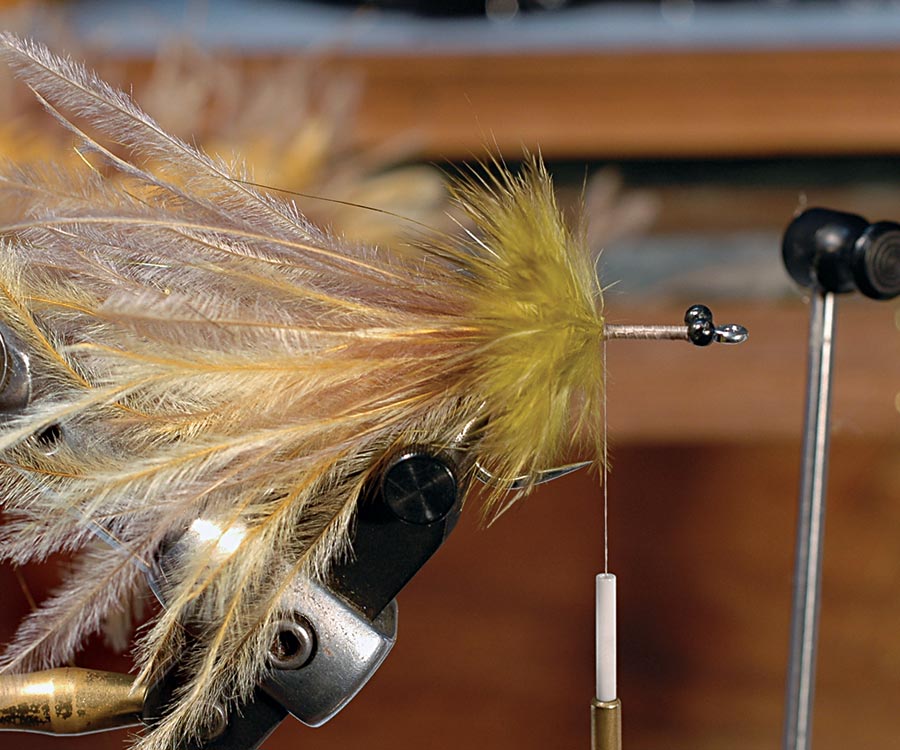
Tying the SST-Poon